

Your hydrovac truck is only as strong as its weakest connection. In the high-stakes world of hydro excavation, when a vacuum hose clamp fails, it’s not just a minor hassle—it’s a critical failure that shuts down the whole operation, puts safety at risk, and bleeds money and time on the job. The market is flooded with options, but for the brutal reality of hydro excavation, picking the right clamp is a science.
Matching the Right Clamp to the Job
Choosing a vacuum hose clamp is about more than just finding one that fits. It’s a strategic decision that needs to account for the environment you're working in, the pressures you're dealing with, and the specific demands of hydrovac work. A clamp that works great in a dry, inland location might rust out in a few months in salty coastal air. The constant, heavy vibration and massive suction forces in our line of work demand industrial-grade reliability, not some general-purpose clamp you'd find at a hardware store.
This is where digging into the details of materials and design really pays off for an operator. This isn't just a hydrovac issue, either; it's an industry-wide trend. The global hose clamp market hit roughly USD 2.39 billion in 2023 and is only getting bigger. That growth shows a major shift toward high-performance materials like stainless steel that can handle the corrosion and strength requirements of tough vacuum applications.
The Great Debate: Stainless Steel 304 vs. 316
When you’re looking at stainless steel clamps, the conversation almost always boils down to two options: 304 and 316. They both fight off corrosion, but how well they do it depends entirely on where you put them to work.
-
304 Stainless Steel: Think of this as the industry workhorse. It’s affordable and does a fantastic job protecting against rust in most everyday conditions. For general hydro-excavation jobs away from the coast or chemical plants, 304 stainless is a smart, economical choice that won’t let you down.
-
316 Stainless Steel: This is the premium stuff, and for good reason. It has an extra ingredient—molybdenum—that gives it far superior resistance to chlorides. That makes it the only real choice for crews working in coastal regions, marine environments, or anywhere de-icing salts are used heavily. Spending a little extra on 316 steel upfront saves you from the pitting and crevice corrosion that can eat a 304 clamp alive.
Before you buy, it’s worth taking a moment to compare your options.
Choosing Your Clamp Material
| Material Type | Corrosion Resistance | Best Use Case | Key Considerations |
|---|---|---|---|
| 304 Stainless Steel | Good | General hydro-excavation, inland locations, low-moisture environments. | A cost-effective, reliable standard for most jobs. Not recommended for salty or high-chloride areas. |
| 316 Stainless Steel | Excellent | Coastal regions, marine applications, areas with road salt, chemical exposure. | The best defense against chloride-induced corrosion. Higher upfront cost but much longer lifespan in harsh conditions. |
Ultimately, picking the right material comes down to an honest assessment of your typical job sites. Don't cut corners here; a failed clamp in a salty environment is a predictable and preventable problem.
Clamp Styles for Specific Hydrovac Scenarios
Material is only half the battle. The clamp’s design is what determines how it performs under real-world pressure. For hydrovac operators, two styles are the most common.
T-Bolt Clamps are the undisputed champions for high-pressure, high-vibration work. Their beefy design creates a perfectly uniform, 360-degree seal, which is absolutely critical for keeping a leak-proof connection on those big hydrovac hoses. This rock-solid grip ensures that powerful tools, like The Hydrovac Attachment Tool, get every ounce of suction power they need to dig effectively.
A T-bolt clamp's ability to be tightened to a specific torque setting prevents the guesswork that often leads to over-tightening and hose damage. This precision is key to both performance and safety.
Worm Gear Clamps, on the other hand, are better suited for lighter-duty jobs. While you see them everywhere, they’re really meant for smaller utility hoses or temporary hookups. They just don't have the clamping force or durability to secure the main suction hose on a hydrovac truck. Trying to use one for that is asking for a connection to fail at the worst possible moment.
Getting these connections right is a core skill, especially when you need to make a hose adapter to PVC transition and ensure everything is sealed up tight.
Getting the Perfect Fit Every Time
In the hydrovac world, a clamp that's "close enough" is a recipe for disaster. We've all seen it: a loose connection that kills your suction, slows down the job, and can even become a safety hazard. Getting the fit right isn't just a good idea—it's the bedrock of a safe, efficient operation.
It all starts with one simple but crucial measurement: the outer diameter (OD) of your hose. Here’s the trick, though—you have to measure it after you’ve pushed the hose onto the fitting. The hose material will stretch and expand just a bit, and that new, slightly larger measurement is the only number that matters for a perfect seal.
From Measurement to a Perfect Match
With your hose’s true OD in hand, you can finally look at a clamp sizing chart. The goal here is to find a clamp where your measurement lands squarely in the middle of its effective range. If you try to use a clamp at its absolute tightest or loosest setting, you're asking for trouble. It creates uneven pressure points, which is a classic cause of a weak seal and eventual leaks.
This process isn't complicated, but it does require paying attention to the details.
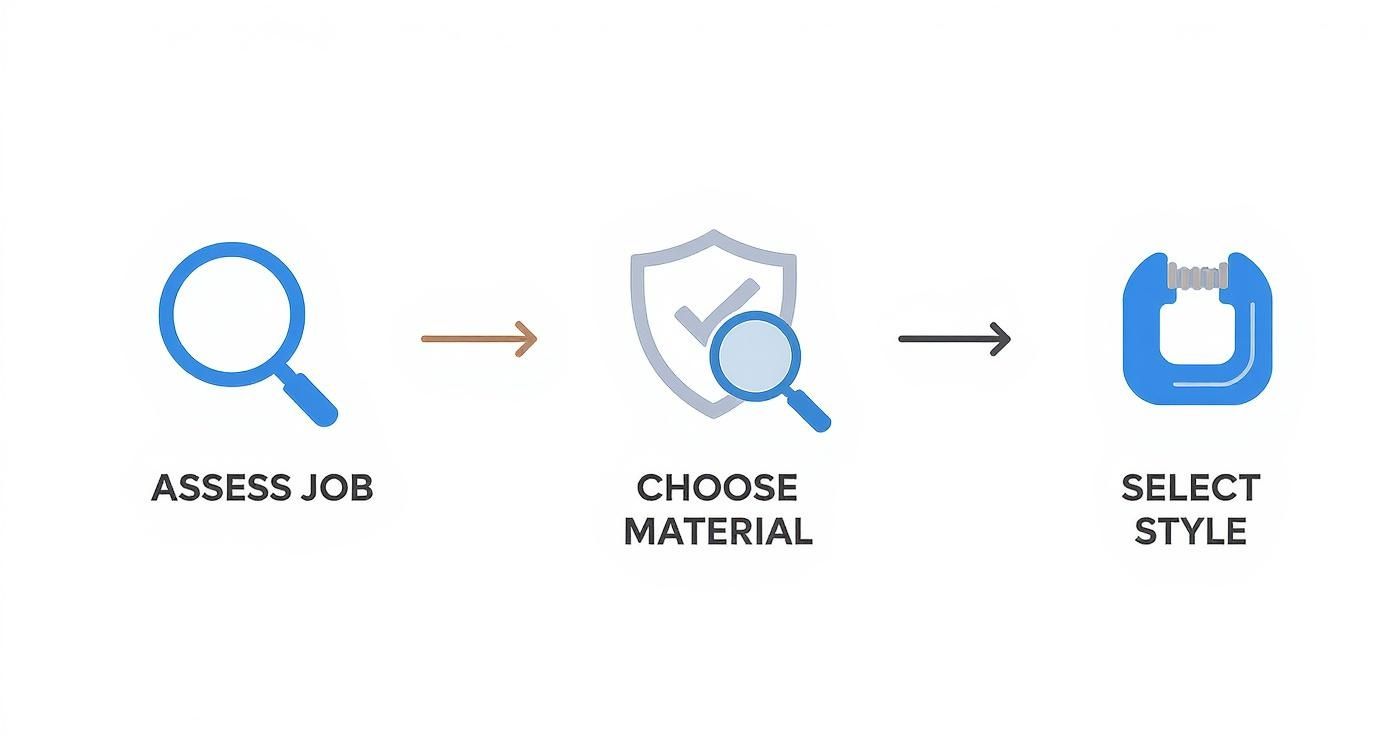
Breaking it down like this—assessing the job, picking the material, then the style—turns a guess into a calculated decision out in the field.
A rock-solid connection is non-negotiable when you’re running powerful digging tools. Think about The Hydrovac Attachment Tool. It’s designed to focus all that incredible suction into a concentrated digging force. But if there's even a tiny leak in the line, you're bleeding off that power before it ever hits the dirt. The result? Slower digging and a less effective tool.
A leak-proof seal ensures every ounce of your truck's power goes directly to the dig site. This lets the Hydrovac Attachment do its job, cutting through tough soil with maximum force and speed.
Field-Tested Tricks for a Slip-Proof Installation
Before you grab a wrench, taking a minute to prep the connection can save you a massive headache later. This is what separates the pros from the rookies.
- Cleanliness is Key: Always wipe down the hose end and the fitting. Any dirt, oil, or grit left behind can create microscopic air channels under suction, undermining your seal.
- Inspect for Damage: Give the hose end a quick once-over. Are there any nicks, cracks, or worn spots? Clamping down on a weak piece of hose is just asking for a blowout.
- Proper Positioning: Slide the clamp over the hose so it sits about a quarter-inch from the hose's end. Critically, you want it behind the raised barb on the fitting, not directly on top of it.
This level of detail is why North American crews are so effective. The region leads the global hose clamp market, largely because of strict safety and performance standards. The top manufacturers, who collectively hold over 45% of the market share, are constantly developing better materials to meet these demands.
For a closer look at what works best with your setup, check out our guide on shop vac hoses and fittings. When you get the selection and installation right, you guarantee your gear is never the weak link in the chain.
The Art of Tightening Without Overtightening
In the hydrovac world, a solid connection is non-negotiable. But a common rookie mistake is cranking down on a vacuum hose clamp with the idea that tighter is always better. The reality is, overtightening is just as dangerous as a loose clamp. It can crush your hose, strip the clamp's threads, and lead to a catastrophic failure right in the middle of a job.
The real goal is to hit that sweet spot: the perfect amount of torque. You want enough pressure to create an airtight, leak-proof seal without actually damaging the hose or the clamp itself. This is a game of precision, not brute force. Just grabbing a wrench and reefing on it is a gamble you can't afford to take.
Achieving the Perfect Torque
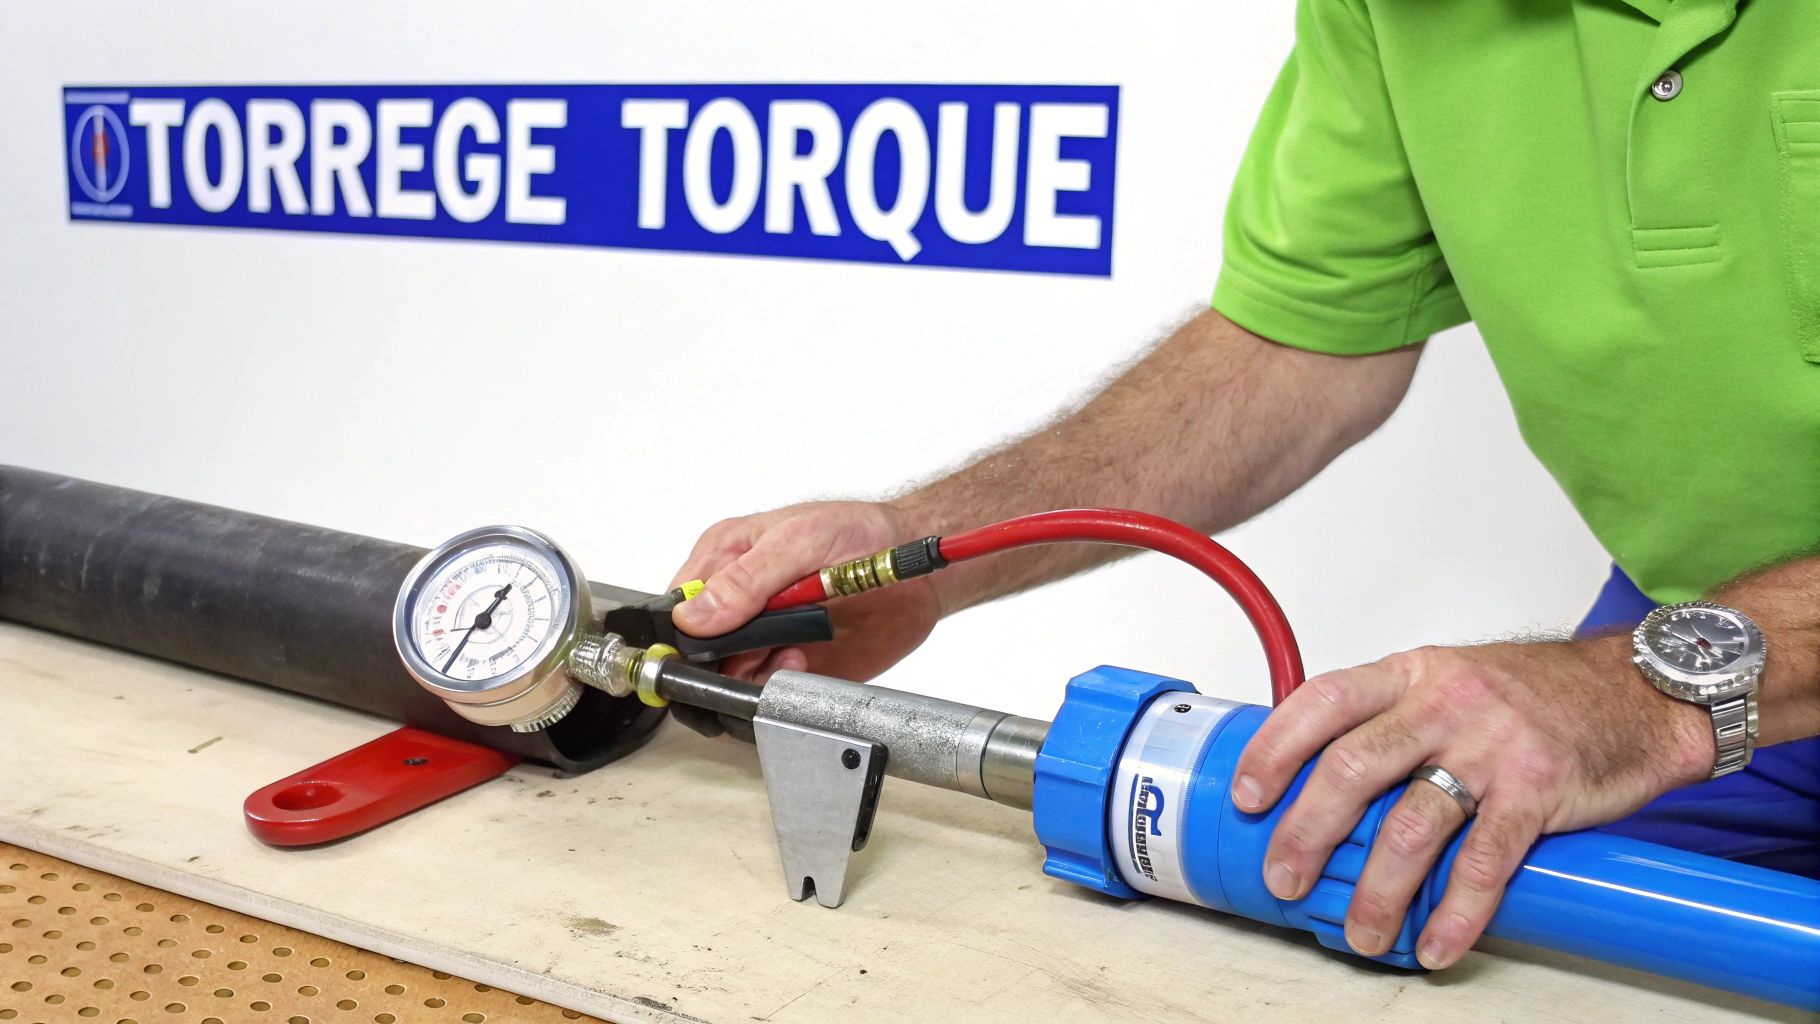
When you're working with heavy-duty T-bolt clamps—the go-to for hydrovac suction hoses—a torque wrench isn't optional; it's essential. This tool lets you tighten the clamp to the exact specification provided by the manufacturer, usually measured in inch-pounds (in-lbs). Following these specs is the only way to guarantee the right clamping force.
What if you can't find the specs? A good rule of thumb for larger T-bolt clamps is to aim for around 60+ in-lbs, but you should always try to find the official recommendation. Hitting the right torque ensures the clamp’s band puts even, 360-degree pressure on the hose.
Applying the correct torque is the single most effective way to prevent leaks and hose damage. It turns a guess into a repeatable, reliable process that protects your investment in both hoses and powerful tools like the Hydrovac Attachment Tool.
A Proven Tightening Sequence
How you tighten is just as important as how much. If a clamp has multiple tension points, avoid maxing out one side before starting the other. Instead, use a star or crisscross pattern to apply pressure evenly. For a standard T-bolt, just tighten the nut gradually until you reach your target torque. This slow and steady approach stops the clamp from seating crooked, which can create weak spots in the seal. For context on simpler connections, it can be helpful to understand the basics of a shop vac hose coupler.
Here’s a pro tip that has saved me countless headaches: re-torque the clamp after its first use. Hoses are made of materials that naturally compress and settle a bit after their first cycle of heat and pressure. This is a normal process called "cold flow." Giving that clamp a quick re-check and a final tightening after its first run ensures the connection stays rock-solid. It’s a simple five-minute step that prevents loosening and leaks down the road.
Common Tightening Mistakes and How to Fix Them
Even experienced operators can fall into bad habits. Here’s a quick guide to spotting and correcting frequent installation errors that can lead to connection failure on the job.
| The Mistake | The Consequence | The Corrective Action |
|---|---|---|
| "Good enough" tightening by hand | Under-tightened clamps vibrate loose, leading to leaks and potential hose blow-offs under pressure. | Always use a calibrated torque wrench to tighten to the manufacturer's specified inch-pounds (in-lbs). |
| Using an impact wrench | Extreme, uncontrolled torque crushes the hose, strips clamp threads, and can cause instant clamp failure. | A torque wrench is the only tool that provides the necessary precision. Never use an impact wrench on hose clamps. |
| Ignoring the "cold flow" effect | The hose material compresses after the first use, causing the "perfectly" tightened clamp to become loose. | After the first operational cycle, let the assembly cool and re-torque the clamp to the original specification. |
| Tightening unevenly | Cranking down one side of a multi-bolt clamp creates an uneven seal, leading to stress points and leaks. | Use a crisscross or star pattern, tightening each bolt incrementally to distribute pressure evenly around the hose. |
Learning to avoid these common pitfalls is key to building reliable, safe, and leak-free connections every single time.
Spotting Trouble Before It Starts
Any experienced hydrovac operator will tell you that a vacuum hose clamp failure rarely comes out of nowhere. It's almost always the end result of small, ignored warning signs that have been building up for weeks, or even months. Getting good at spotting these little clues is the real secret to stopping a minor headache from turning into a full-blown emergency that shuts down the job and puts everyone at risk.
A little proactive inspection is your best friend here.
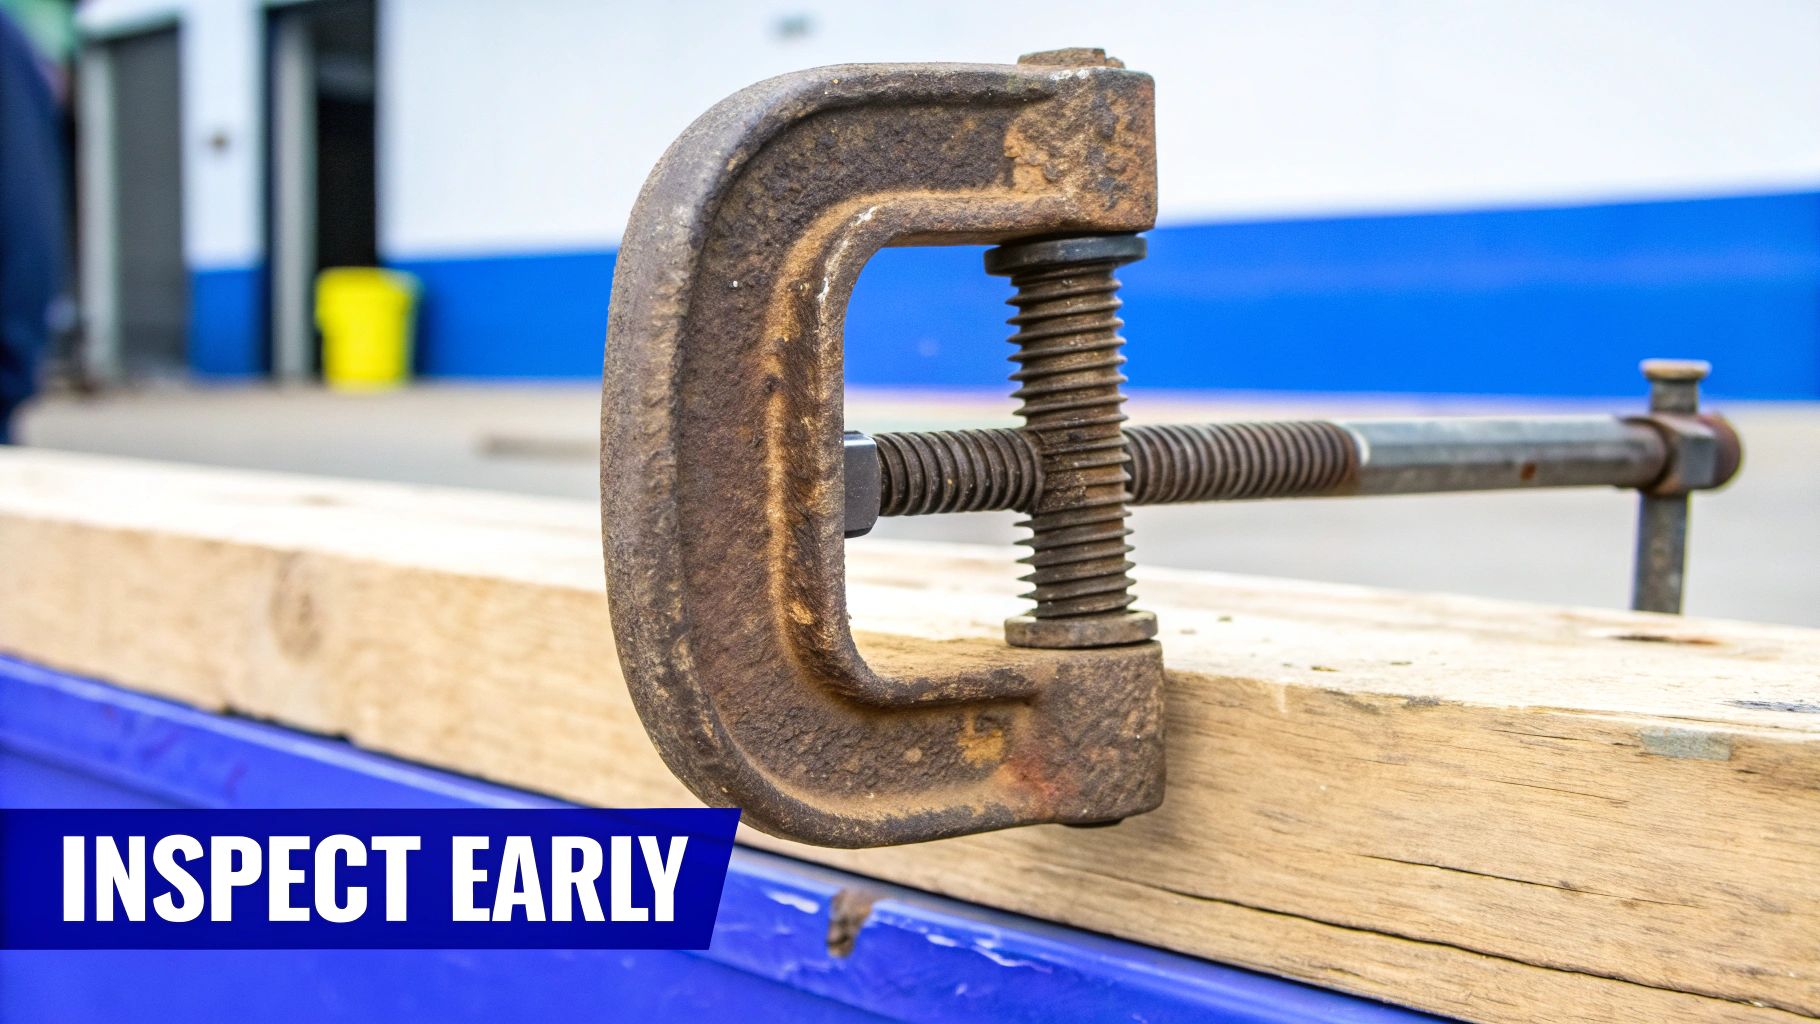
Think about the conditions on a typical hydro-excavation site—the constant, intense vibration and the abrasive materials flying through the hoses put a massive amount of stress on every single connection. A simple daily walk-around, just a quick visual check, can catch developing problems long before they become catastrophic. It’s maybe five minutes of your time, but it pays for itself over and over.
Common Signs of Clamp Fatigue
Your clamps are talking to you, you just need to learn their language. Keep an eye out for these red flags, as they're the clearest signs that a clamp is on its last legs.
-
Visible Corrosion: This is the big one. It might be obvious reddish-brown rust on a basic steel clamp, or it could be more subtle pitting on a stainless steel one that's been exposed to winter road salt. Either way, corrosion compromises the clamp's integrity and dramatically reduces its holding power.
-
Stripped or Damaged Bolts: Get up close and look at the bolt head and threads. Is the head getting rounded off? Do the threads look stretched or flattened? That’s a dead giveaway that it's been over-torqued at some point. This kind of damage is permanent and makes the clamp totally unreliable under load.
-
Deformed Band: If the clamp band itself is bent, warped, or doesn't look perfectly round anymore, you've got a problem. It was either cranked down way too tight or it was the wrong size for the hose to begin with. A distorted band applies uneven pressure, which is a perfect recipe for leaks and hose blow-offs.
A solid, leak-free connection is what makes your whole operation work. When you're running high-performance equipment like The Hydrovac Attachment Tool, any weakness in the system bleeds off that critical suction power you need to dig effectively. A failing clamp isn't just a safety risk; it directly kneecaps your productivity.
Developing a Proactive Inspection Mindset
Being proactive goes beyond just spotting damage; it’s about making smart choices from the start to prevent these issues from ever cropping up. This means thinking ahead before the truck even rolls out of the yard.
Your daily inspection routine is more than just a checklist; it's your insurance policy against downtime. Catching a stretched T-bolt or a little spot of rust is what separates a quick, easy fix from a project-halting, expensive emergency.
Here’s a real-world example: if your jobs are often in coastal regions with salt in the air, or you work in areas with heavy road salting in the winter, specifying 316 stainless steel for all your vacuum hose clamps is a no-brainer. That one decision on material choice can dramatically extend the life of your connections and head off the rapid corrosion that would eat a standard clamp for lunch.
It's the same with your crew's habits. Insist that your team uses a torque wrench every single time instead of just going by "feel." This simple change in procedure practically eliminates the chronic problem of stripped bolts and crushed hoses. Creating that culture of precision ensures every connection is as solid as the last, which keeps your gear running and your people safe.
Keeping Your Connections Solid for the Long Haul
On a hydrovac site, you can't just "set it and forget it." Keeping your operation running smoothly comes down to consistent maintenance and a crew that's bought into safety. A solid hose connection is the heart of an efficient job, but even the best vacuum hose clamps need regular attention to handle the constant vibration and harsh materials we deal with every day. The best way to dodge expensive downtime and keep everyone safe is to build a simple, repeatable inspection routine.
It all starts with a quick walk-around. Before you even fire up the truck for the day, take five minutes to put eyes on every single clamp on your main suction lines. This one habit can catch a small problem before it turns into a massive, project-stopping headache.
What to Look for in Your Daily Check
A good inspection is more than just a quick look for rust. You need to train your eye to spot the subtle signs that a clamp is failing under pressure.
- Hunt for Stress Cracks: Get in close and look right around the bolt and where the band itself connects to the housing. Tiny, hairline fractures often show up here first, signaling metal fatigue from all that vibration.
- Spot a Warped Band: The clamp's band should be perfectly round. If you see any flat spots or warping, it's a dead giveaway that it was either cranked down way too tight or was the wrong size to begin with. That means uneven pressure and a bad seal.
- Check the Bolt and Threads: Look for stretched threads on the bolt or a rounded-off bolt head. If you see either, the clamp is compromised. It can't be trusted to hold the right torque anymore and needs to be replaced.
Don't forget to keep things clean. After a job digging in corrosive stuff like slurry or road salt, take a moment to rinse the clamps off. It’s a simple step, but it stops those chemicals from eating away at the steel and will make your clamps last a whole lot longer.
A secure, well-maintained connection isn't just a suggestion—it's essential for getting the job done right. It ensures that specialized tools like the Hydrovac Attachment Tool get the consistent, full suction they need to perform, translating your truck's power into real digging force.
Safety Rules You Can't Afford to Break
Visual checks are one thing, but some safety protocols are absolute. The number one rule: always depressurize the system before you even think about adjusting or replacing a clamp. A hose under vacuum is holding back a tremendous amount of force. If it lets go unexpectedly, you're dealing with a whipping hose and flying debris that can cause serious injury.
Everyone on the crew needs to understand what's at stake. A failed connection under load isn't just a leak—it's a potential high-velocity projectile. When you build that safety-first mindset, every connection gets the respect it deserves, and you know you can trust the gear you're working with.
Unlocking Peak Performance with the Right Tools
A perfect, leak-proof connection is the backbone of any hydrovac operation, but let's be honest—the real magic happens at the business end of the hose. This is where a rock-solid system, held together by reliable vacuum hose clamps, truly proves its worth. A good clamp ensures that every bit of power your truck generates gets channeled directly to the digging tool, with zero suction loss along the way.
This kind of direct power transfer is what makes specialized equipment shine. Take The Hydrovac Attachment Tool, for example. It's engineered from the ground up to take full advantage of every ounce of that suction, focusing it to cut through tough soil with remarkable precision.
Think of it this way: when your clamp and your tool are working together perfectly, raw power is transformed into precision performance. This partnership leads to faster job times, less water waste, and a worksite that's both safer and more efficient.
At the end of the day, a strong connection is about more than just stopping leaks. It's about unlocking the complete potential of your digging equipment. This synergy is what allows experienced operators to deliver the high-caliber hydro-excavation results that clients expect, turning a simple mechanical part into a massive productivity multiplier. It’s the difference between fighting the ground and owning the job.
Your Questions, Answered
In the hydrovac world, even the smallest parts can make the biggest difference. A simple hose clamp might seem trivial, but getting it right is crucial for safety, avoiding downtime, and getting the most out of your rig on every single job.
Let's tackle some of the most common questions that come up.
Can I Reuse a Vacuum Hose Clamp After I’ve Taken It Off?
I get this question a lot, and my answer is always the same: for safety and performance, you should really use a new clamp every time. This is especially true for the high-tension T-bolt clamps we rely on in this industry.
When you first tighten a clamp and then take it off, the threads can stretch and the band itself can deform. If you try to reuse it, you’re risking a weak seal or even a sudden, catastrophic failure under pressure. Think about it—the cost of a new clamp is pocket change compared to the price of project delays or a safety incident.
What’s the Real Difference Between a T-Bolt and a Worm Gear Clamp?
Worm gear clamps are perfectly fine for your garden hose or other low-pressure, around-the-house tasks. But for the intense suction and heavy vibration of a hydrovac hose, a T-bolt clamp isn't just a suggestion—it's essential.
A T-bolt provides a complete, 360-degree seal that a worm gear clamp just can't match. More importantly, you can tighten it down to a specific torque, which prevents the dangerous hose blow-offs that can easily happen with weaker clamp styles. A secure connection is absolutely critical for transferring your truck's full power to tools like The Hydrovac Attachment Tool.
Relying on the right clamp style isn't just about preventing leaks; it's about ensuring every bit of your truck's power is transferred efficiently to the digging tool, turning raw suction into focused performance.
How Can I Tell if the Clamp Is Tight Enough Without a Torque Wrench?
While a seasoned operator can develop a "feel" for it, relying on guesswork is a gamble that often leads to trouble. Over-tightening can damage the hose, and under-tightening is a safety hazard waiting to happen.
The only way to be certain is to use a torque wrench and follow the manufacturer's specifications. If you're in a pinch with no specs available, a rule of thumb is to tighten until the hose is firmly compressed but not being cut or showing signs of bulging.
Honestly, though, investing in a good torque wrench is the professional standard for a reason. It's the best way to guarantee safety and reliability day in and day out.
Ready to turn your hydrovac’s raw power into precision digging? The Hydrovac Attachment relies on a rock-solid connection to deliver unmatched efficiency. Discover how you can work faster and safer by visiting the official Hydrovac Attachment website.