

Digging a post hole isn't just about making a hole in the ground. To do it right, you need to think about the hole's depth and diameter, pick the right tool for your soil, and most importantly, always figure out what’s buried underground before you start. The best approach really depends on the size of your project, what kind of dirt you're dealing with, and how close you are to hidden utility lines.
A Lasting Project Starts With a Solid Foundation
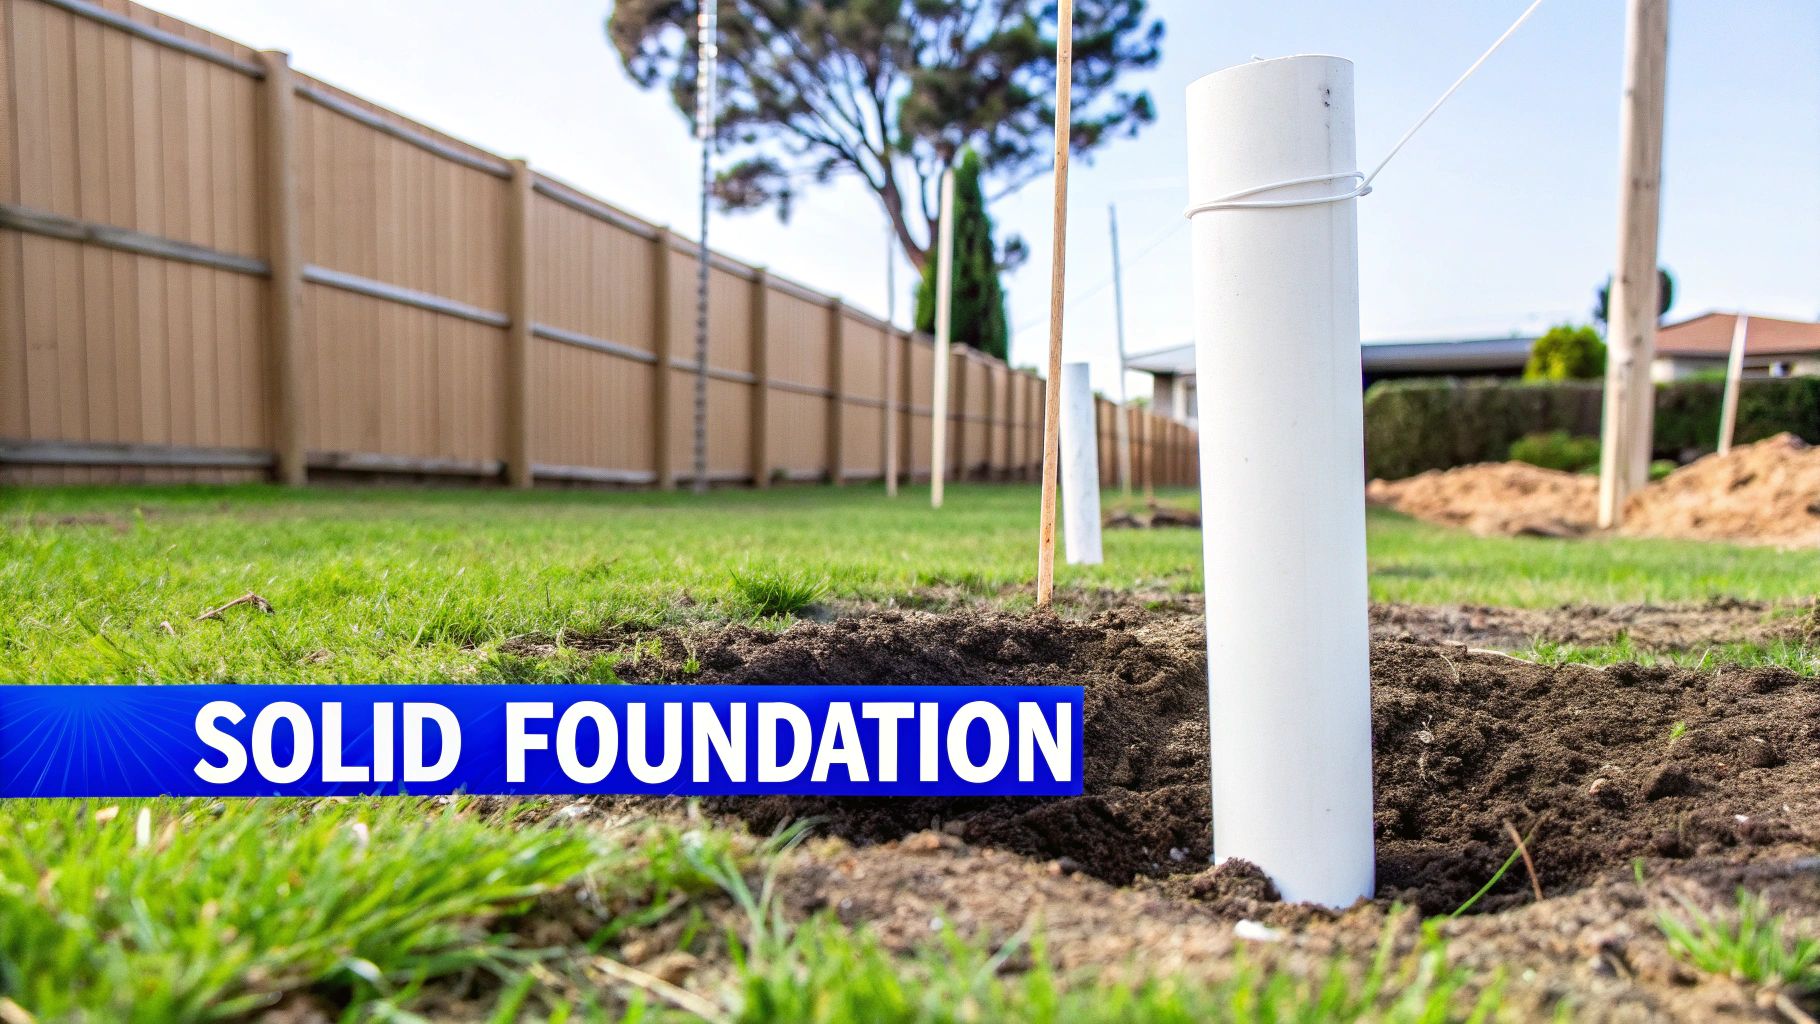
Behind every solid fence, sturdy deck, or perfectly upright mailbox is a well-dug post hole. But anyone who’s tried it knows the reality is often a sweaty struggle against clay, rocks, surprise tree roots, and the constant worry of hitting a gas or water line. This guide is here to get you past the old-school shovel and show you smarter, safer, and faster ways to set the stage for your project, from fence post digging to safely digging up pipes without damage.
We'll break down the three main ways to get the job done: good old-fashioned manual digging, a gas-powered auger, and the more modern vacuum excavation. The whole point is to help you sidestep the common mistakes that can ruin a project from the start. A sloppy hole today means a leaning fence or a wobbly deck tomorrow.
Why Getting the Dig Right Matters
With more and more construction happening, the need for precise digging is through the roof. The U.S. excavation market is expected to reach a massive $203.1 billion by 2025, with a huge chunk of that coming from residential jobs like yours.
But with more digging comes more risk. In 2022, there were 39 deaths from trenching accidents alone—an 86% jump from what we typically see. Many of these tragedies happened in excavations not much bigger than a standard post hole, which really underscores why doing this safely is so critical, especially when digging up pipes or working near utilities.
From Brute Force to Finesse
This guide isn't about muscling your way through the job. It's about a smarter, more controlled approach, especially in residential yards where buried pipes and cables are a real wild card. We’ll show you how new tools are completely changing how homeowners and pros tackle these projects.
Take the Hydrovac Attachment Tool, for instance. It's a clever mobile tool that pairs with a standard wet vac hose and a pressure washer—no giant industrial hydrovac truck needed. It turns a messy, back-breaking job into a clean, precise, and totally manageable task, perfect for clearing small amounts of debris.
It's an effective digging solution for:
- Installing fence posts: You get clean holes without tearing up the lawn.
- Setting deck footings: It allows for pinpoint accuracy, even right next to your house.
- Exposing pipes safely: You can dig around sensitive utilities without the risk of a costly or dangerous break.
The stability of any structure is only as good as its foundation. A well-dug post hole isn't just a starting point; it's the anchor that ensures longevity and safety for years to come.
This principle of a solid anchor applies to all kinds of structures. For example, learning how to anchor a metal carport offers great insights that carry over to almost any post-based project. When you focus on getting the foundation right, you're building something that will stand the test of time.
Post Hole Digging Methods At a Glance
Not sure which digging method is right for your project? Here's a quick rundown to help you compare your options.
| Method | Best For | Pros | Cons |
|---|---|---|---|
| Manual Post Digger | Small jobs (1-5 holes), soft soil, areas with tight access or many utilities. | Inexpensive, quiet, precise control, no fuel needed. | Labor-intensive, slow, tough in rocky or clay soil. |
| Power Auger | Medium to large jobs (5+ holes), moderate soil conditions, open areas. | Very fast and efficient, saves your back, powers through roots. | Noisy, heavy, can be dangerous ("kickback"), not for rocky ground. |
| Vacuum Excavation | Digging near known utilities, fence posts, exposing pipes, delicate landscapes. | Extremely safe (won't damage lines), very clean, precise. | Requires specialized equipment, slower than an auger, higher initial cost. |
Choosing the right tool is the first step. A manual digger is perfect for a simple mailbox post, but for a 100-foot fence, a power auger will save you a world of hurt. And if you're digging anywhere near marked utility lines, vacuum excavation with the Hydrovac Attachment Tool is the only truly safe bet.
Planning Your Dig for Flawless Results

Before you even think about grabbing a shovel, a little prep work can save you a world of hurt later. Honestly, this planning stage is the most important part of the whole job. It’s what sets you up for a project that’s safe, sturdy, and perfectly straight. Rushing this is how you end up with a leaning fence or, worse, a dangerous utility strike.
The very first thing you need to do—and this is non-negotiable—is to call 811 or visit their website. Do this a few days before you plan to break ground. It’s a free national service that gets your local utility companies to come out and mark their underground lines with flags or paint. Hitting a buried gas line or electrical cable isn’t just an expensive fix; it’s a life-threatening mistake. There's no good reason to skip this step. Ever.
Once you’ve got the all-clear and the utility lines are marked, you can start laying out your project. Don't just eyeball it. Grab some wooden stakes and mason's string to create a perfectly straight line for your fence or mark the exact corners for a deck. This gives you a clear visual guide and ensures every post hole lands exactly where it should.
Calculating the Right Hole Dimensions
Getting the math right for your post holes is what gives your project its strength. The size of the hole, both depth and diameter, directly affects how well it will hold up against wind, weight, and the test of time.
A good rule of thumb is to make the hole one-third to one-half the length of the post that's above ground. So, for a standard 6-foot fence, you’d use an 8-foot post and dig the hole at least 2 feet deep. But that’s just a starting point.
The real factor to consider is your local frost line—the depth the ground freezes to in winter. To keep your posts from heaving up out of the ground, the bottom of the hole must be below this line. Figuring out how deep a fence post should be for your climate is essential for a stable, long-lasting fence.
The hole’s diameter is just as important. You want it to be about three times the width of the post. A standard 4x4 post (which is actually 3.5" x 3.5") needs a hole that’s 10-12 inches wide. This leaves enough room for concrete to form a solid footing all around the post.
Pro Tip: A gate post or a corner post takes on way more stress than a regular line post. For these critical spots, always dig the hole about 6 inches deeper and 2 inches wider than the others. That extra concrete creates a much beefier foundation that won't sag or shift.
Reading Your Soil Before You Dig
Finally, take a look at the ground you're about to fight with. Your soil type will tell you which tools and techniques are going to work best. Is it loose and sandy? Thick, sticky clay? Or full of rocks and roots?
- Sandy Soil: This stuff is easy to dig, but the walls of your hole will want to collapse as you work. This is a perfect job for something like the Hydrovac Attachment Tool, since its wet vac hose can clear the loose soil without causing a cave-in.
- Clay Soil: Clay is heavy, dense, and a real workout to dig through. It holds its shape well, but it will fight you every inch of the way. Trying to tackle dense clay with a manual digger is a quick way to wear yourself out.
- Rocky or Root-Filled Soil: This is where power augers meet their match. An auger can hit a big rock and kick back dangerously, or a thick root can jam it completely. You'll often end up having to finish the hole by hand anyway.
A quick soil check helps you see problems before they start. It points you toward the right tools for the job, saving you a ton of frustration and helping you work smarter, not harder.
Choosing the Right Tool for the Job
Getting a post hole dug right really comes down to having the right equipment. It’s not just about what’s fastest; it's about matching the tool to your soil, the size of your project, and, most importantly, the hidden dangers lurking underground. Let's walk through the options you'll be looking at.
The most basic tool is the classic manual post hole digger, sometimes called a "clamshell." If you're only setting a couple of posts in nice, soft soil, this is a perfectly good choice. It's cheap, quiet, and reliable. But if you’re staring down an entire fence line or wrestling with the dense clay so common in backyards, you'll find out pretty quickly that it's a one-way ticket to an aching back.
The Problem with Power Augers
So, the next logical step seems to be a powered earth auger, right? A gas engine doing all the heavy lifting sounds like a dream. And in perfect, obstacle-free soil, they can be great. The trouble is, perfect soil is rare, and I've seen these machines create more headaches than they solve.
The biggest danger is kickback. The second that auger blade hits a big rock or a tough tree root, the entire machine can twist violently right in your hands. It’s a serious injury waiting to happen. They also have a nasty habit of getting stuck solid, leaving you to wrestle a heavy, gassed-up machine out of a half-dug hole.
Worse yet, power augers are a massive liability anywhere near underground utilities. They're all brute force and zero finesse. An auger will tear through a water line, fiber optic cable, or even a gas line before you even know what's happening. That turns your weekend fence post digging project into a dangerous, expensive emergency. We get into more of the specifics in our guide to one-man post hole diggers.
Here's a hard-won piece of advice: don't assume more power is always better. When you're digging in a yard full of unknowns, precision and control are worth far more than raw, indiscriminate force.
The market for these tools tells a similar story. The global post hole borer market was valued at $312 million in 2025 and is expected to jump to $526 million by 2033. A big reason for that growth is that old-school manual and basic mechanical methods fail 40-50% of the time in the compacted or rocky soils found all over North America and Europe. This data from a recent post hole borer market report really highlights the need for a smarter way to dig.
A Smarter Solution: Vacuum Excavation
This brings us to a much safer and more intelligent approach for residential digging: vacuum excavation, made simple with a tool like the Hydrovac Attachment Tool. Now, don't picture a giant industrial truck parked on your lawn. This is a nimble, portable tool built for the exact challenges homeowners and small contractors face in yards packed with utilities.
The concept is brilliantly simple and effective. The Hydrovac Attachment Tool is a tough little device that connects your pressure washer and your wet/dry vac hose.
Here’s the process:
- A high-pressure stream of water from your pressure washer gently breaks up and liquefies the soil.
- The strong suction from your wet vac immediately pulls that soil-and-water slurry out of the hole.
- All the mess goes straight into your wet vac, leaving your work area surprisingly clean.
This method completely changes the game, turning a messy, risky job into a controlled, almost surgical process.
Precision and Safety in One Tool
The real magic of the Hydrovac Attachment Tool is its unmatched precision. You can carefully dig soil away from buried pipes, irrigation lines, and cables without worrying about damaging them. The water jet is strong enough to cut through tough soil but gentle enough that it won't slice into PVC, copper, or other common utility materials.
This makes it the absolute best tool for any project where you're not 100% sure what's buried a few inches down. It takes all the guesswork and risk out of the equation, giving you total peace of mind. Whether you're carefully exposing a pipe for repair or setting fence posts in an established yard, no other method gives you this combination of safety and control. It’s not just about how to dig a post hole—it's about how to do it without creating a much bigger problem.
Getting Hands-On with Precision Hydro Excavation
This is where the real work begins, and it's less about brute force and more about finesse. Using a tool like the Hydrovac Attachment Tool transforms digging from a messy, unpredictable chore into a clean, controlled, almost surgical procedure. Let's walk through how to use this technique to get perfect post holes every time, whether you're setting a fence line, exposing pipes, or working in a delicate residential yard.
The initial setup is refreshingly simple. You just connect the attachment to your wet vac hose and your pressure washer wand. It's a quick, tool-free assembly that gets you working in minutes, not hours. Forget about mixing fuel or wrestling with heavy machinery.
Once you’re hooked up, outline your hole and add a little water to the surface. This little trick helps prime the area and keeps dust from flying everywhere when you start. When you fire up both the pressure washer and the wet vac, the system comes to life. The high-pressure water jet liquefies the soil, and the vacuum immediately sucks the resulting slurry away.
Mastering Your Digging Technique
The real art of hydro excavation is in how you handle the tool. It's less like digging and more like carving. By angling the pressure washer wand, you can create perfectly clean, vertical walls for your post hole. I find a slight circular motion helps to excavate the area evenly, preventing the hole from becoming tapered or lopsided.
You'll also need to adjust your water flow based on what you're digging in.
- For dense clay: You’ll want a steady, direct stream of water to break up that compacted material. Keep the nozzle close to the soil for maximum impact.
- For sandy or loose soil: Back off the water pressure a bit and use a wider spray pattern. This helps keep the hole walls from collapsing as you work.
- For rocky soil: Use the water jet to wash away the soil from around the rocks. This loosens them up so you can easily lift them out or, if they're small enough, let the vacuum suck them right up.
This chart really puts the evolution of digging methods into perspective, from old-school manual labor to modern hydro excavation.
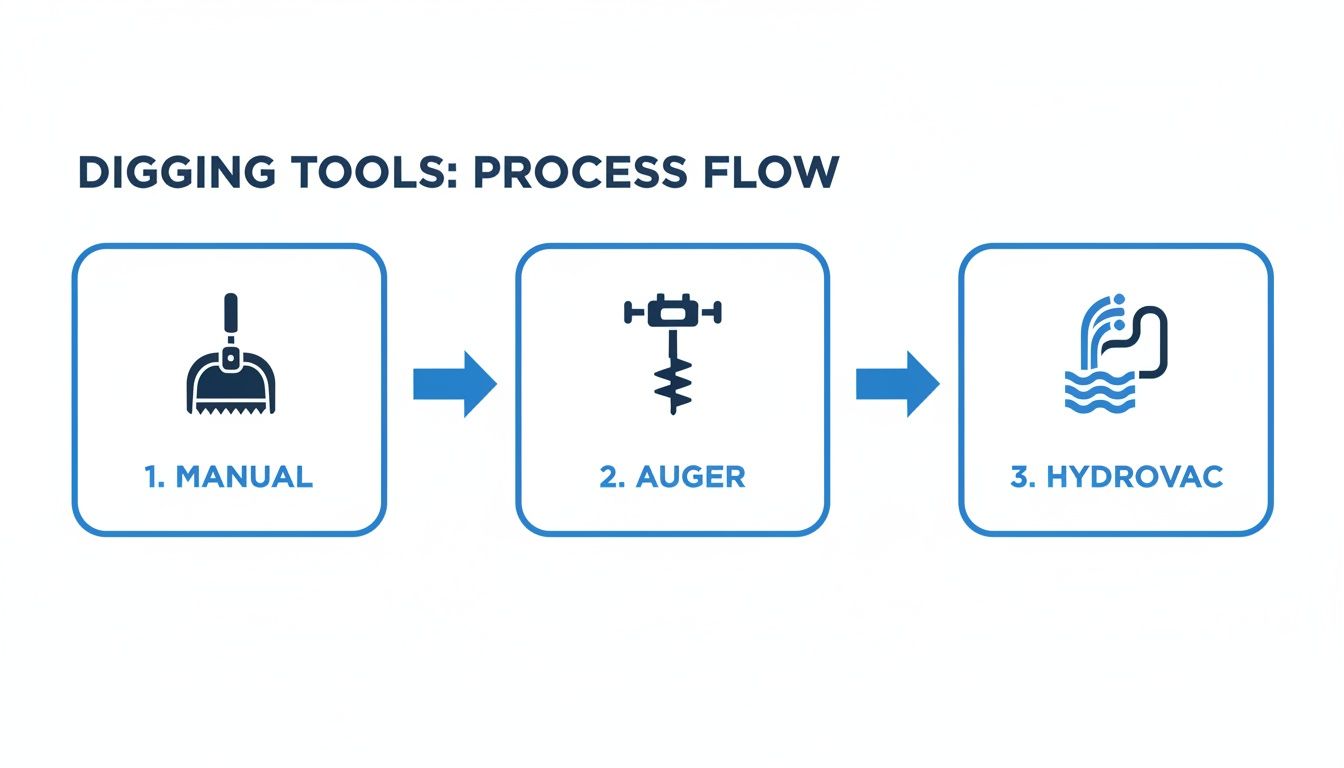
You can see a clear progression toward safer, more controlled digging. The hydrovac method sits at the top, offering the best precision with the least amount of site disruption.
The Cleanest Way to Dig a Hole
One of the best things about this method is the total lack of mess. A power auger throws dirt, rocks, and mud all over your lawn, leaving you with a big cleanup job. Even manual diggers leave piles of soil that can kill the grass underneath.
With the Hydrovac Attachment Tool, every bit of excavated material is sucked directly into your wet vac's tank. This is a game-changer for anyone working on an established lawn or in a pristine garden bed. There's no soil to shovel back, no mud to rake, and zero damage to the surrounding landscape. You're left with a perfect hole and a clean worksite.
This method is about more than just digging; it's about preserving the environment you're working in. For residential projects, minimizing collateral damage to lawns and gardens is just as important as the dig itself.
This precision is why it's the go-to choice for digging around sensitive infrastructure. When you need to expose pipes without breaking them, the controlled water stream lets you carefully peel back the soil layer by layer—something that’s just impossible with a mechanical digger. To really get into the nitty-gritty, you can learn more about how a hydro excavation vacuum works in these delicate situations.
A Real-World Example: The Tricky Backyard Fence Post
Imagine this: you need to install a new fence post just a few feet from a sprinkler system's main line and a buried electrical cable for landscape lighting. An auger is a non-starter here; the risk of a costly and dangerous strike is way too high. A manual digger would be painstakingly slow, and you'd still risk nicking a line with the steel blades.
This is the exact scenario where the Hydrovac Attachment Tool proves its worth. You can start digging with confidence, using the water jet to gently wash the soil away. As you get closer to the marked utility lines, you can slow down and use the water to almost feel your way, exposing the pipes and cables without any hard tools ever making contact. The vacuum keeps the hole clear, giving you a perfect view of your work area at all times. You not only get a clean, perfectly sized hole but also complete the job with zero damage and total peace of mind.
Navigating Common Digging Headaches
Even with the best planning, what's underground is always a bit of a mystery. Let's be honest, the reality of digging in most yards is that you're going to hit something you didn't expect. Knowing how to handle those curveballs is what separates a frustrating day from a finished project.
Picture this: you're humming along with a power auger when, with a violent jolt, the whole machine kicks and screeches to a halt. You've just met a buried rock the size of a bowling ball or a stubborn old tree root. Now what? Your auger is useless, and you're stuck with a half-dug hole and the miserable job of chipping away at the obstacle with a digging bar. It’s a classic scenario that can bring your entire day to a dead stop.
This is exactly where a different way of thinking about digging really shines.
Dealing with Rocks and Roots Using Water
Instead of trying to muscle through an obstacle, the Hydrovac Attachment Tool uses a focused jet of water to outsmart it. When you hit that same rock, you don't have to give up. You can use the water stream to wash away the soil packed tightly around it, essentially freeing it from the ground.
The water liquefies the dirt, and the wet vac hose immediately sucks up the slurry. In just a few moments, that rock or root is completely exposed and loose enough for you to just lift it out of the hole. An obstacle that would have stopped an auger cold becomes a minor delay you can handle in minutes.
Taming Saturated and Collapsing Soil
Another classic headache is just plain bad soil. Ever tried to dig in soggy, waterlogged ground after a solid week of rain? With a shovel or an auger, you’re not digging a hole so much as you are creating a muddy pit that fills with water as fast as you can scoop it out.
The vacuum on a Hydrovac Attachment is the perfect fix for this. It actively dewaters the hole while you work, sucking up the excess moisture right along with the soil. This keeps the area clear and lets you dig a clean, stable hole in ground that would otherwise be impossible to work with.
The key takeaway is that modern digging tools aren't just for perfect conditions; they are problem-solvers designed for the tough, real-world spots that stop traditional methods cold.
Loose, sandy soil brings its own brand of frustration. You dig a scoop out, and the walls immediately collapse back in. It can feel like you're getting absolutely nowhere.
To beat this, you can adjust your technique with the hydrovac. By dialing back the water pressure and using a wider spray, you can gently wash the soil away without causing a cave-in. The constant vacuum removes the material before it has a chance to slide back down, which is crucial for maintaining the hole’s shape.
This level of control is more than just convenient; it's a huge safety advantage. The U.S. excavation sector is a massive $119 billion industry, but trenching accidents remain a serious risk. In fact, soil cave-ins in shallow holes are responsible for a staggering 80% of incidents. Using a controlled water and vacuum stream not only reduces mess by 70% but also provides a much safer way to expose posts and locate utilities—a critical factor as municipal maintenance projects continue to grow. You can find more data on the post hole borer market on datainsightsmarket.com. It's an approach that turns a potentially risky job into a precise and safe operation.
Common Questions About Digging Post Holes
Alright, we've covered the tools and the techniques. But let's be honest, that's when the real-world questions start popping up. It's one thing to read about the process and another to be staring at a patch of dirt, getting ready to dig.
Here are the answers to the most common questions I hear from people about to break ground on a new project.
How Deep Should My Post Hole Be?
This is the big one, and getting it right is non-negotiable. The classic rule of thumb is to bury at least one-third of the post's total length. So, for a standard 8-foot fence post, you're looking at a hole that's roughly 2.5 to 3 feet deep.
But here's the crucial detail: that rule is secondary to your local frost line. If you live anywhere that freezes, the bottom of your post hole must sit below that line. This prevents the ground from heaving your posts right out of the earth during a freeze-thaw cycle.
For any post that's taking on a serious load—think corners, gate posts, or deck supports—I always add another 6 to 12 inches. That extra depth gives you room for a much beefier concrete footing, which makes all the difference. When in doubt, always check your local building codes.
Can I Use Any Wet Vac and Pressure Washer?
The Hydrovac Attachment Tool was designed to be a workhorse, not a diva. It fits the standard 2.5-inch wet vac hose, which means it’s compatible with the vast majority of shop-style and industrial wet/dry vacuums you already have on the job site.
To really get the most out of it, you'll want a wet vac with some serious suction power (check the CFM rating) and a pressure washer that can push out at least 1500 PSI. That’s the sweet spot for blasting through compacted soil and thick clay while the vacuum whisks away the slurry. The attachment is built from an industrial-grade polymer to handle that kind of pressure day in and day out without breaking a sweat.
What Is the Best Way to Deal with the Slurry?
One of the best things about this method is how clean it is. The soupy mix of soil and water—the slurry—goes straight into your wet vac’s collection tank. No mess, no piles of dirt on the lawn.
Once the tank is full, you just need to dump it responsibly. For a typical backyard fence or landscaping job, you can usually just spread the slurry in an out-of-the-way spot, like a compost pile or an empty garden bed, and let it dry. On bigger commercial sites or if you suspect the soil might be contaminated, you may need to haul it to a designated disposal facility. A quick check of your local regulations will tell you what's required.
The ability to contain and manage the excavated material is a huge advantage. It's not just about easier cleanup; it protects established lawns and keeps soil runoff out of nearby storm drains and waterways.
Is Vacuum Excavation Faster Than a Power Auger?
In a perfect world of soft, rock-free soil, a power auger can be fast. But we don't work in a perfect world. The second an auger hits a big rock, a thick root, or dense clay, it either stalls, kicks back dangerously, or just stops making progress.
This is exactly where the Hydrovac Attachment Tool shines. It chews through those tough conditions without a problem.
Even more importantly, it's dramatically safer and more precise when you're working near buried utilities. With an auger, you have to stop well short of any marked lines and switch to painstaking hand digging. When you add up the time saved by not having to hand dig, the minimal cleanup, and the ability to power through any soil type, the total time to get the job done is often much, much shorter.
Of course, once the hole is dug, you'll need to fill it. To get that part right, check out our guide on calculating how much Quikrete you'll need to finish your project.
Ready to make your next digging project safer and cleaner? The Hydrovac Attachment Tool turns the wet vac and pressure washer you already own into a high-precision excavation machine.
Discover the Hydrovac Attachment and simplify your toughest jobs today.