

Figuring out exactly how much Quikrete you need is the first, and arguably most important, step for any concrete job. Get this wrong, and you’re either stuck with leftover bags or making a frantic, mid-pour run to the hardware store.
Let's break it down. A standard 80-pound bag of Quikrete yields about 0.60 cubic feet of concrete. If you're using the smaller 50-pound bags, you’ll get about 0.375 cubic feet. To put that in perspective, you'd need about 45 of the big 80-pound bags or 72 of the 50-pound bags to mix up a full cubic yard.
Calculating Your Quikrete Needs The Fast Way
Forget the complicated math for a second. There’s a straightforward way to get a solid estimate without giving yourself a headache. It all boils down to one simple formula.
The Core Formula for Any Project
At the heart of every concrete estimate is volume. You find this by multiplying the three dimensions of your project space, making sure they're all in the same unit—feet is the easiest.
Length (in feet) x Width (in feet) x Depth (in feet) = Total Volume (in cubic feet)
This single calculation works for nearly everything, from a massive patio slab to a simple footing for a deck post. The key here is getting your measurements right from the start. A small mistake can throw your final bag count way off. This is especially true during site prep—digging your area out precisely means your numbers on paper will match what you actually need. For demanding jobs, this is where tools from the hydrovac industry, like The Hydrovac Attachment Tool, ensure the excavation is perfect.
If you're working with round forms for footings or piers, the math changes a bit. The concept is similar, though, and you can see a breakdown in our guide on how to calculate the volume of a pipe, which uses the same principles.
Quikrete Bag Yield Quick Reference
Once you have your total volume in cubic feet, you just need to know how much concrete you get out of a single bag. This quick reference table is your best friend for this part of the process.
| Bag Weight | Approximate Yield (Cubic Feet) | Bags Needed Per Cubic Yard |
|---|---|---|
| 80-pound bag | ~0.60 cu. ft. | ~45 bags |
| 60-pound bag | ~0.45 cu. ft. | ~60 bags |
| 50-pound bag | ~0.375 cu. ft. | ~72 bags |
| 40-pound bag | ~0.30 cu. ft. | ~90 bags |
This table gives you the numbers you need to convert your project's volume directly into the number of bags to add to your shopping cart. Just divide your total cubic feet by the yield of your chosen bag size.
Pro Tip: Always Add a Waste Factor Here’s a piece of advice that can save your project: always buy 10% more Quikrete than you calculate. This isn't about being wasteful; it's about being prepared. This small buffer covers you for uneven ground, slight measurement errors, or the inevitable bit of spillage.
Trust me, this little bit of overage is the difference between a smooth-sailing project and a day filled with stress. Consider it cheap insurance for a job well done.
Getting Your Numbers Right: The Foundation of Any Concrete Job

Before you even think about buying a single bag of Quikrete, you need to get your numbers straight. Trust me, the success of your entire project boils down to a simple process: getting accurate measurements, converting them correctly, and then calculating your final bag count. Getting this sequence right is the difference between a smooth weekend project and a frantic, halfway-through trip back to the hardware store.
It all starts with a tape measure. Every calculation that follows is built on the numbers you take down now, so don't rush this part.
First, Nail Your Measurements
Grab your tape measure and get the length, width, and depth of your project area. For a simple rectangular slab, this is pretty easy. If you're working with footings or odd shapes, just break the area down into smaller, standard shapes you can measure individually and add up later.
The golden rule here is consistency. If you measure length in feet, you need to measure width and depth in feet, too. The problem is, most concrete projects specify depth in inches (like a 4-inch slab). You’ll need to convert that into feet. Just divide the inches by 12.
- Length: Measure in feet.
- Width: Measure in feet.
- Depth: Measure in inches, then divide by 12 to convert to feet. (For example, that 4-inch slab becomes 0.333 feet).
A quick pro-tip: your measurements are only as good as the hole you dug. If the excavated area has sloppy edges or the depth is all over the place, your math won't reflect reality. For really precise work, an industry-leading solution like the Hydrovac Attachment can help you dig with surgical accuracy, ensuring the hole you measure is the hole you’ll actually be filling.
Next, Find the Volume in Cubic Feet
Once you have all three dimensions in feet, you can figure out the total volume of your project. The standard unit for this is cubic feet.
It's a straightforward formula you probably remember from school:
Length (ft) x Width (ft) x Depth (ft) = Total Volume in Cubic Feet
This number is your magic figure. It represents the total amount of space you need to fill with concrete and is the key to finding out how many bags to buy.
Getting the volume right is non-negotiable. Being off by just a few cubic feet on a decent-sized slab could mean you’re short by dozens of bags. Double-check your multiplication before moving on.
Finally, Calculate How Many Bags You Need
With your total cubic feet in hand, the last step is a breeze. All you have to do is translate that volume into a specific number of Quikrete bags. Look at the bag you plan to buy—it will tell you its "yield," which is how much space it will fill. An 80 lb bag of Quikrete typically yields 0.60 cubic feet.
Now, just divide your total volume by the bag's yield:
Total Cubic Feet / Bag Yield (e.g., 0.60) = Number of Bags to Buy
This final number takes all the guesswork out of the equation. It's the exact amount you need to write on your shopping list to get the job done right.
Applying The Math To Real-World DIY Projects
Alright, let's put these formulas to the test and see how they work on projects you might actually be tackling this weekend. Theory is one thing, but running the numbers for a real patio or a line of fence posts is where you really start to feel confident.
For all these examples, we'll be working with the trusty 80 lb bags of Quikrete. From my experience, you can reliably expect one of these bags to yield about 0.60 cubic feet of mixed concrete.
Pouring A Classic 10x12 Patio Slab
Let's start with a common one: a new patio slab. Say you've framed out a space that's 10 feet long by 12 feet wide. For most patios that will see foot traffic and some furniture, a 4-inch depth is the standard.
First, we have to get all our measurements on the same page. That means converting the 4-inch depth into feet. Just divide by 12, which gives us 0.333 feet.
Now, let's find the total volume:
- 12 ft (Length) x 10 ft (Width) x 0.333 ft (Depth) = 39.96 cubic feet
With that number, we can figure out how many bags we'll be hauling from the store.
- 39.96 cu. ft. / 0.60 cu. ft. per bag = 66.6 bags
You can't buy two-thirds of a bag, so we'll round that up to 67 bags. But we're not done. You always need a buffer for uneven ground or small spills. That's where our 10% waste factor comes in.
- 67 bags x 1.10 = 73.7 bags.
So, for a clean, stress-free pour, you'll want to pick up 74 bags.
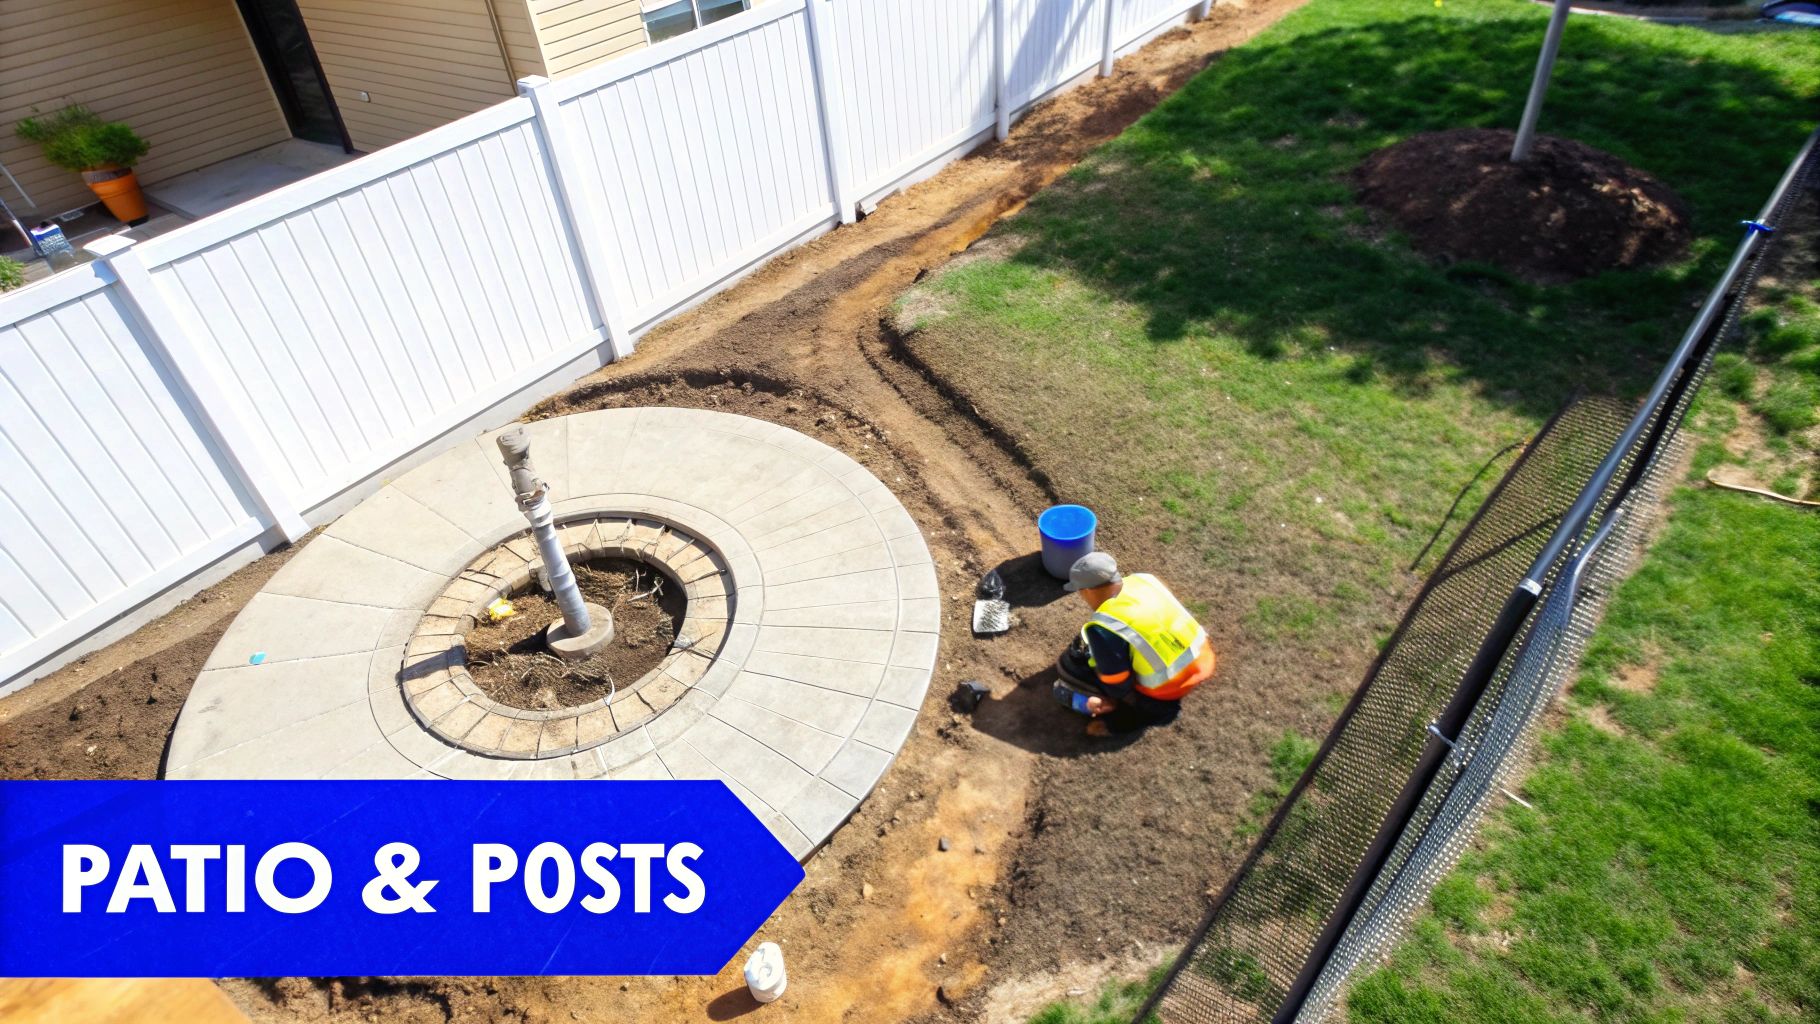
Setting Sturdy Fence Posts
Moving from a flat slab to a vertical pour is a bit different. Let's say you're setting fence posts in holes that are 1 foot (12 inches) in diameter and 2 feet deep. For this, we need the formula for a cylinder's volume: πr²h.
The radius (r) is just half the diameter, so that’s 0.5 feet. The height (h) is our depth, which is 2 feet.
- 3.14 x (0.5 ft)² x 2 ft = 1.57 cubic feet per hole
This is a small enough volume that bagged concrete is the perfect solution. To find the bag count per post:
- 1.57 cu. ft. / 0.60 cu. ft. per bag = 2.6 bags per hole
You’d round this up to 3 bags per post just to be safe. Precision is key here. Digging holes that are exactly the right size prevents wasting concrete. Using an efficient solution like The Hydrovac Attachment Tool can give you perfectly sized, clean holes every time. This is especially critical for projects that involve potholing for utilities, as it provides a non-destructive digging method. If you're unfamiliar with this technique, you can learn about the specifics of potholing in construction.
By accurately calculating and digging, you prevent over-pouring and ensure each post has a solid, consistent foundation. This attention to detail at the start saves material and guarantees a professional-quality result.
Laying A Simple Walkway
What about a long, narrow walkway? Imagine a path 20 feet long by 3 feet wide, also poured at a standard 4-inch depth (0.333 ft). The math here is identical to the patio, just with different numbers plugged in.
-
Step 1: Calculate Volume 20 ft (Length) x 3 ft (Width) x 0.333 ft (Depth) = 19.98 cubic feet
-
Step 2: Determine Bag Count 19.98 cu. ft. / 0.60 cu. ft. per bag = 33.3 bags, which we round up to 34 bags.
-
Step 3: Add the Waste Factor 34 bags x 1.10 = 37.4 bags.
You'll need 38 bags to complete your walkway without running short.
To make it even easier, here’s a quick-glance table summarizing these common projects.
Sample Project Quikrete Calculations
This table breaks down the Quikrete bag requirements for common DIY projects using 80 lb bags, including a 10% waste factor.
| Project Type (Example Dimensions) | Volume (Cubic Feet) | Base Bags Needed | Total Bags Needed (with 10% Waste) |
|---|---|---|---|
| Patio Slab (10' x 12' x 4") | 39.96 | 67 | 74 |
| Fence Post Hole (1' Ø x 2' D) | 1.57 | 3 | 3 (waste included in rounding) |
| Walkway (20' x 3' x 4") | 19.98 | 34 | 38 |
Seeing the numbers laid out like this really helps visualize how a few simple calculations can save you from making multiple trips to the hardware store or ending up with a pile of unused bags.
Why Precision Excavation is the Secret to Nailing Your Concrete Estimate

Here’s a hard-earned lesson from the field: your calculation for how much Quikrete you need is only as reliable as the hole you dig. An uneven base or a depth that’s off by just an inch can completely blow up your estimate, forcing you to make a panicked run to the store mid-pour.
Site prep is far more than just moving dirt around. It’s about creating a precise mold for your concrete. When you over-dig, you kill your budget. Consider this: digging just one extra inch deeper than planned across a 10x12 foot slab forces you to buy an extra 10 cubic feet of material.
That mistake will cost you about 17 extra 80 lb bags you never planned for.
The Hidden Costs of a Sloppy Dig
The real trouble with old-school digging—whether with a shovel or a mini-excavator—is the lack of precision. It’s tough to avoid messy, sloped edges and a floor that has low spots. When you start pouring, the concrete immediately fills all those hidden voids, eating up bags of material you never factored in.
This inaccuracy leads directly to a few project-killing headaches:
- Budget Overruns: The most obvious pain is the unexpected cost of buying more Quikrete.
- Wasted Time: Nothing halts progress like having to stop everything for another supply run while your mix starts to cure.
- Weak Spots: A slab with inconsistent thickness is a recipe for future problems, creating weak points that are far more likely to crack down the road.
To sidestep these issues, your excavation needs to be just as careful as your math. This is where modern digging technology really shines, helping you create a hole that perfectly matches the volume you calculated.
Your project's foundation is, well, the foundation. Cutting corners on the dig almost always costs more in time, money, and materials than just doing it right from the start.
Surgical Accuracy with Hydro-Excavation
For truly flawless site prep, tools like the Hydrovac Attachment Tool offer surgical accuracy. This technique, often called vacuum excavation, uses pressurized water and a powerful vacuum to remove soil with incredible control. The result is clean, perfectly shaped forms ready for your pour.
Unlike the rough work of a shovel or an excavator bucket, hydro-excavation gives you exact measurements, straight vertical walls, and a consistently level floor. If you're curious about the process, you can get a full breakdown of what vacuum excavation is and see how it works.
This level of precision means no wasted concrete and no last-minute surprises. When you invest in a proper excavation, you're protecting your budget and guaranteeing a professional result. The hole you measure is the hole you fill, which makes your Quikrete calculations dead-on accurate every time.
Why Quikrete? A Look at the Yellow Bag You See Everywhere
Ever wonder why, no matter which home improvement store you walk into, you’re greeted by a sea of yellow Quikrete bags? It’s no accident. The brand has become so common it's practically synonymous with bagged concrete, and for good reason. Understanding why it's the go-to choice gives you confidence when you're planning your own project.
Founded way back in 1940, Quikrete has spent decades building a massive network across North America. This is a huge deal for both pros and DIYers. When you’re figuring out how many Quikrete bags you need, you can be pretty sure your local store will have them in stock when you're ready to start pouring.
Built on a Foundation of Reliability
A huge part of Quikrete's success comes from its focus on the repair and remodeling market. Unlike the boom-and-bust cycles of new construction, people are always fixing patios, setting fence posts, and patching up driveways. This creates a steady, predictable demand that keeps those yellow bags flying off the shelves.
The statistics really drive this home. Quikrete commands an estimated 60% market share of the bagged concrete industry in North America. Think about that—more than half the market. Even more telling is that 30% to 35% of its sales come directly from repair and remodeling jobs. This consistent business ensures their products are always available when you need them. You can find more details on this from industry analysts like those at S&P Global.
This constant focus on everyday projects means Quikrete has fine-tuned its products to be easy to use and incredibly accessible.
When a brand becomes the default, it’s not by chance. It’s because it has consistently proven its reliability and availability over decades. Quikrete’s dominance is built on being there for its customers, project after project.
How Brand Trust Impacts Your Project
So, what does all this mean for you and your concrete slab or fence posts? It means you can plan with confidence. Knowing Quikrete is easy to find eliminates one major headache from your project logistics.
This idea of reliability connects directly back to the very first step of your project: preparing the ground. When you take the time to dig precise footings or a perfectly level base for a slab—perhaps using a specialized solution like The Hydrovac Attachment Tool for clean, accurate excavation—you're setting the stage for success.
Precision isn't just about digging; it’s about creating an accurate container for your concrete. When you pair meticulous prep work with a dependable and readily available material like Quikrete, you’re creating a simple, winning formula for a great result without any last-minute surprises.
Common Questions About Using Quikrete
Even after you've run the numbers and double-checked your math, questions always come up once the bags are open and the water starts flowing. Let's walk through some of the most common issues people face to make sure your project goes off without a hitch.
A huge one I see all the time is getting the water-to-mix ratio right. It's tempting to add extra water to make the concrete flow easier, but that's a classic mistake. A soupy mix can slash the final strength by as much as 50%. You'll end up with a weak, porous slab that’s just begging to crack or flake apart later.
But going too dry isn't the answer either. A stiff, crumbly mix is a nightmare to work with and won't settle properly into your forms. This creates hidden air pockets called "honeycombs," which are serious weak spots that can undermine the whole structure. What you're shooting for is a consistent, workable mix—something like thick peanut butter is the perfect texture.
Choosing The Right Quikrete Mix
It’s easy to think all concrete bags are the same, but they’re definitely not. The standard yellow bag of Quikrete Concrete Mix is the reliable, all-around choice for most projects like slabs, sidewalks, or general repairs. It gives you a strong, durable finish, but it needs time to cure properly.
On the other hand, if you're setting fence posts or a mailbox, grab the red bag of Quikrete Fast-Setting Concrete. This stuff is a game-changer. You can pour the dry mix right into the hole, add water, and it’ll be rock-solid in about 20-40 minutes. The biggest benefit here is speed; you don't have to waste time bracing the post while waiting for it to cure.
It really just boils down to your project. For big, flat areas where you have time, the standard mix is perfect. For setting posts where you need to move on quickly, the fast-setting mix is the only way to go.
What To Do With Leftover Quikrete
So what about those extra bags you wisely bought for your waste factor? Don't just toss them in the corner of the garage. If that powder is exposed to moisture in the air, it will start to pre-hydrate and become one giant, useless rock.
The trick is proper storage. Keep any leftover bags in a dry spot, and get them up off the concrete floor—a wooden pallet or a sturdy shelf works great. If you think you'll be storing them for a while, go a step further and seal the bag inside a heavy-duty plastic garbage bag. This creates a solid moisture barrier and can keep the Quikrete fresh for several months.
This kind of smart material management is a small-scale version of what’s happening across the entire industry. The demand for ready-mix concrete is booming, projected to grow globally from 5.47 billion cubic meters in 2025 to 6.91 billion cubic meters by 2030. This surge is driven by massive infrastructure work and a steady stream of remodeling projects—exactly where Quikrete shines. You can dig deeper into the ready-mix concrete industry on Mordor Intelligence.
And for those jobs where you need perfectly clean and accurate holes for your footings, a Hydrovac Attachment can be a massive time-saver. It ensures the hole you dig is the exact size you calculated, preventing wasted material and giving you a much more professional finish.