


When you’re digging a hole for a fence post, it’s easy to think it’s just about making a hole in the ground. But for professionals in the hydrovac industry, the real work—the work that ensures safety and longevity—happens before the first post even goes in. Get this part right, and you've built a foundation. Get it wrong, and you're setting yourself up for a callback, or worse, a costly utility strike.
The rule of thumb has always been to bury at least one-third of the post's total length deep into the ground. Just as important, you must get below your local frost line. If you don't, the freeze-thaw cycle of the soil will slowly but surely push that post right back up, a process known as frost heave, and your perfectly straight fence will start to lean.
Why The Perfect Hole Is The Foundation Of A Great Fence
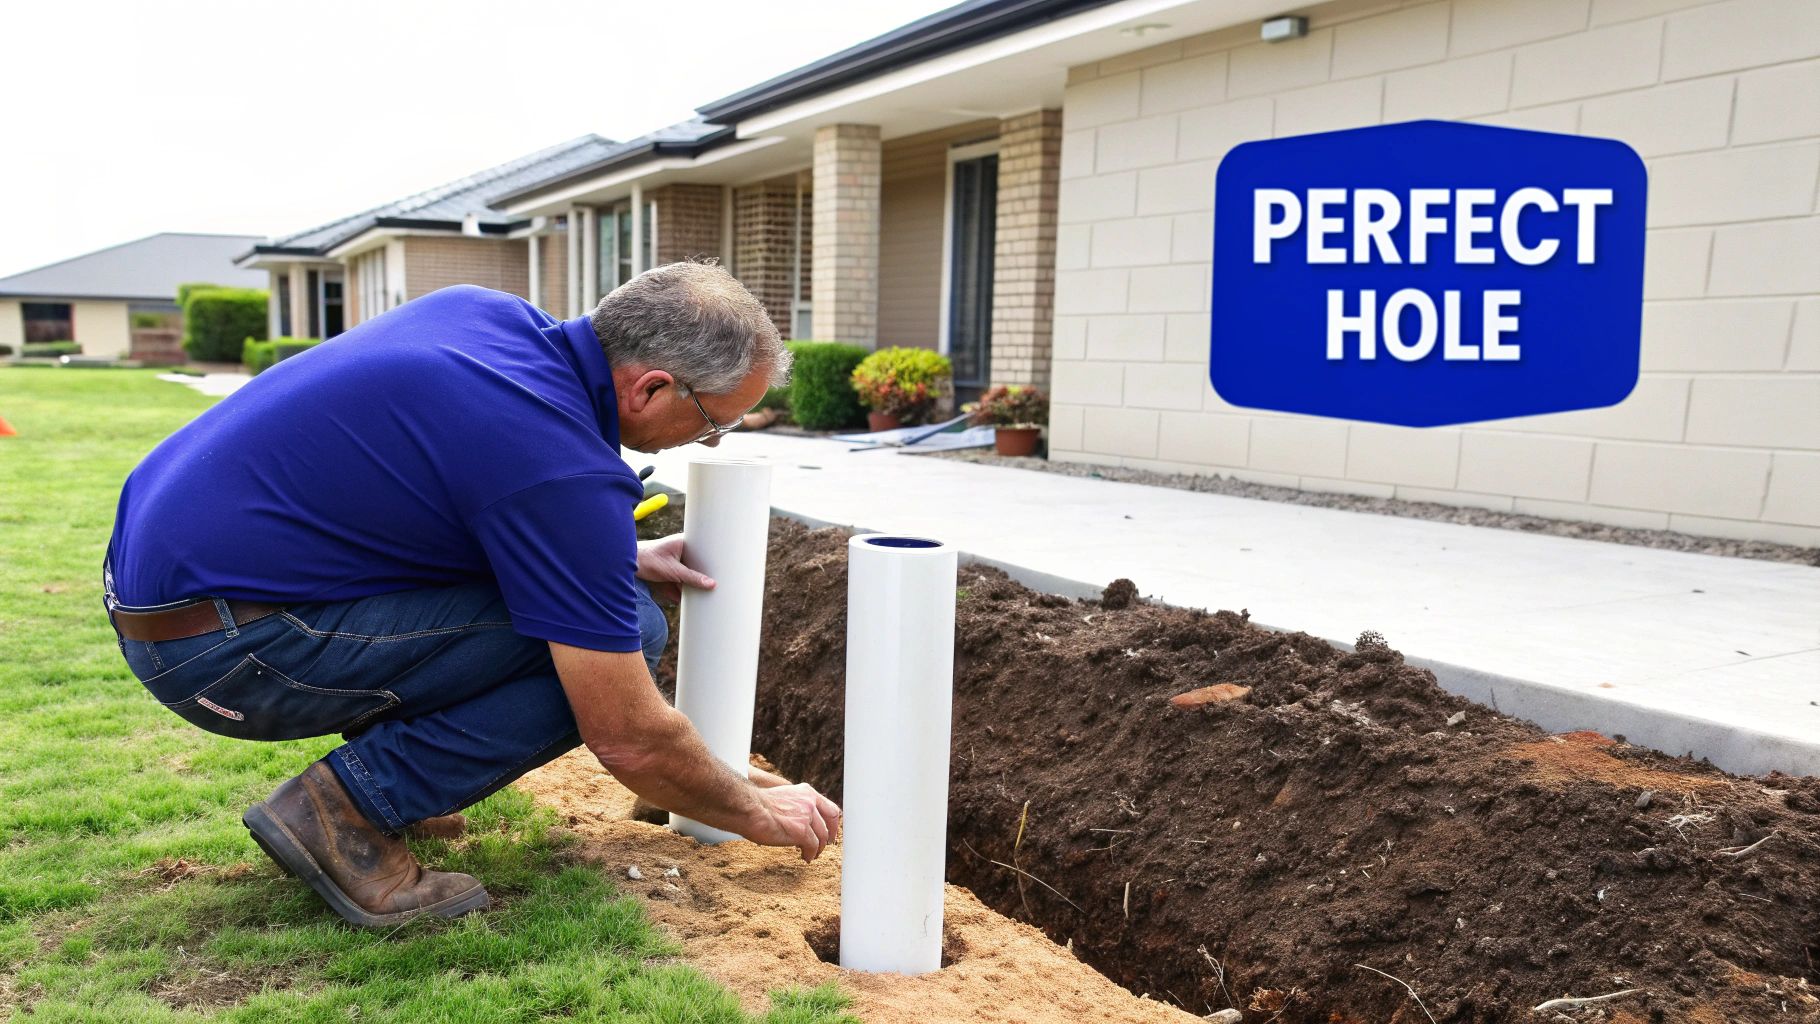
Before a single picket is nailed, the long-term integrity of a fence is literally decided underground. For any professional crew, mastering the art of the post hole isn't just about digging; it's about avoiding the real-world costs that come from a job done poorly. A bad hole can trigger a whole chain of expensive problems down the road.
The most common failure we see is frost heave. When the ground freezes and thaws, it grabs onto the post and slowly jacks it upward. This is what causes those leaning, unstable fences you see everywhere. But an even bigger, more immediate risk is hitting unseen underground utilities. Nicking a water main or, worse, a fiber optic cable, can shut down your project for days and land you with fines and repair bills in the thousands. This is a primary concern for any hydrovac professional.
Common On-Site Challenges
Out in the field, hydrovac crews run into all sorts of things that make old-school digging methods a slow, dangerous, and inefficient process. These daily headaches are what kill your timeline and eat into your profits.
- Difficult Soil Conditions: Trying to fight through rocky soil or dense clay can snap manual tools and completely stall out a gas-powered auger. Hydrovac excavation excels here, using water to penetrate where mechanical tools fail.
- Tight Working Spaces: Most residential jobs mean digging right next to delicate landscaping, sprinkler systems, or existing buildings where you just can't fit bulky equipment.
- Safety and Precision: You're legally required to hand-dig within 18 inches of marked utility lines. This tolerance zone is where non-destructive hydrovac methods are not just a better option, but a legal and safety imperative.
To give you a better idea of what you're up against, here’s a quick rundown of the go-to methods and why the hydrovac industry has moved beyond them for professional applications.
Fence Post Digging Methods At A Glance
| Method | Best For | Key Challenge |
|---|---|---|
| Manual Post-Hole Digger | DIY projects in soft, rock-free soil. | Extremely labor-intensive and impractical for professional volume or difficult ground. |
| Gas-Powered Auger | Large, open areas with moderate soil and no utilities. | Dangerous kickback, messy, and extremely high-risk near buried infrastructure. |
| Hydrovac Excavation | Any soil type, especially near utilities or in tight spaces. | The professional standard for safe, precise, and non-destructive digging. |
You can see why the industry is starting to move away from the high-risk, back-breaking methods. The game is no longer just about making a hole; it's about doing it with surgical precision and zero collateral damage.
The goal has shifted. We're not just digging anymore. We're performing precise, non-destructive excavation to create a perfect foundation with minimal disruption and zero risk.
This is where modern solutions are really changing how professional crews operate. A tool like The Hydrovac Attachment Tool is a prime example, turning a standard power washer and wet/dry vac into a compact yet powerful hydrovac system. This setup allows crews to leverage hydrovac technology for smaller-scale jobs like fence posts, providing a safe, efficient, and precise solution.
Planning Your Dig For Flawless Execution
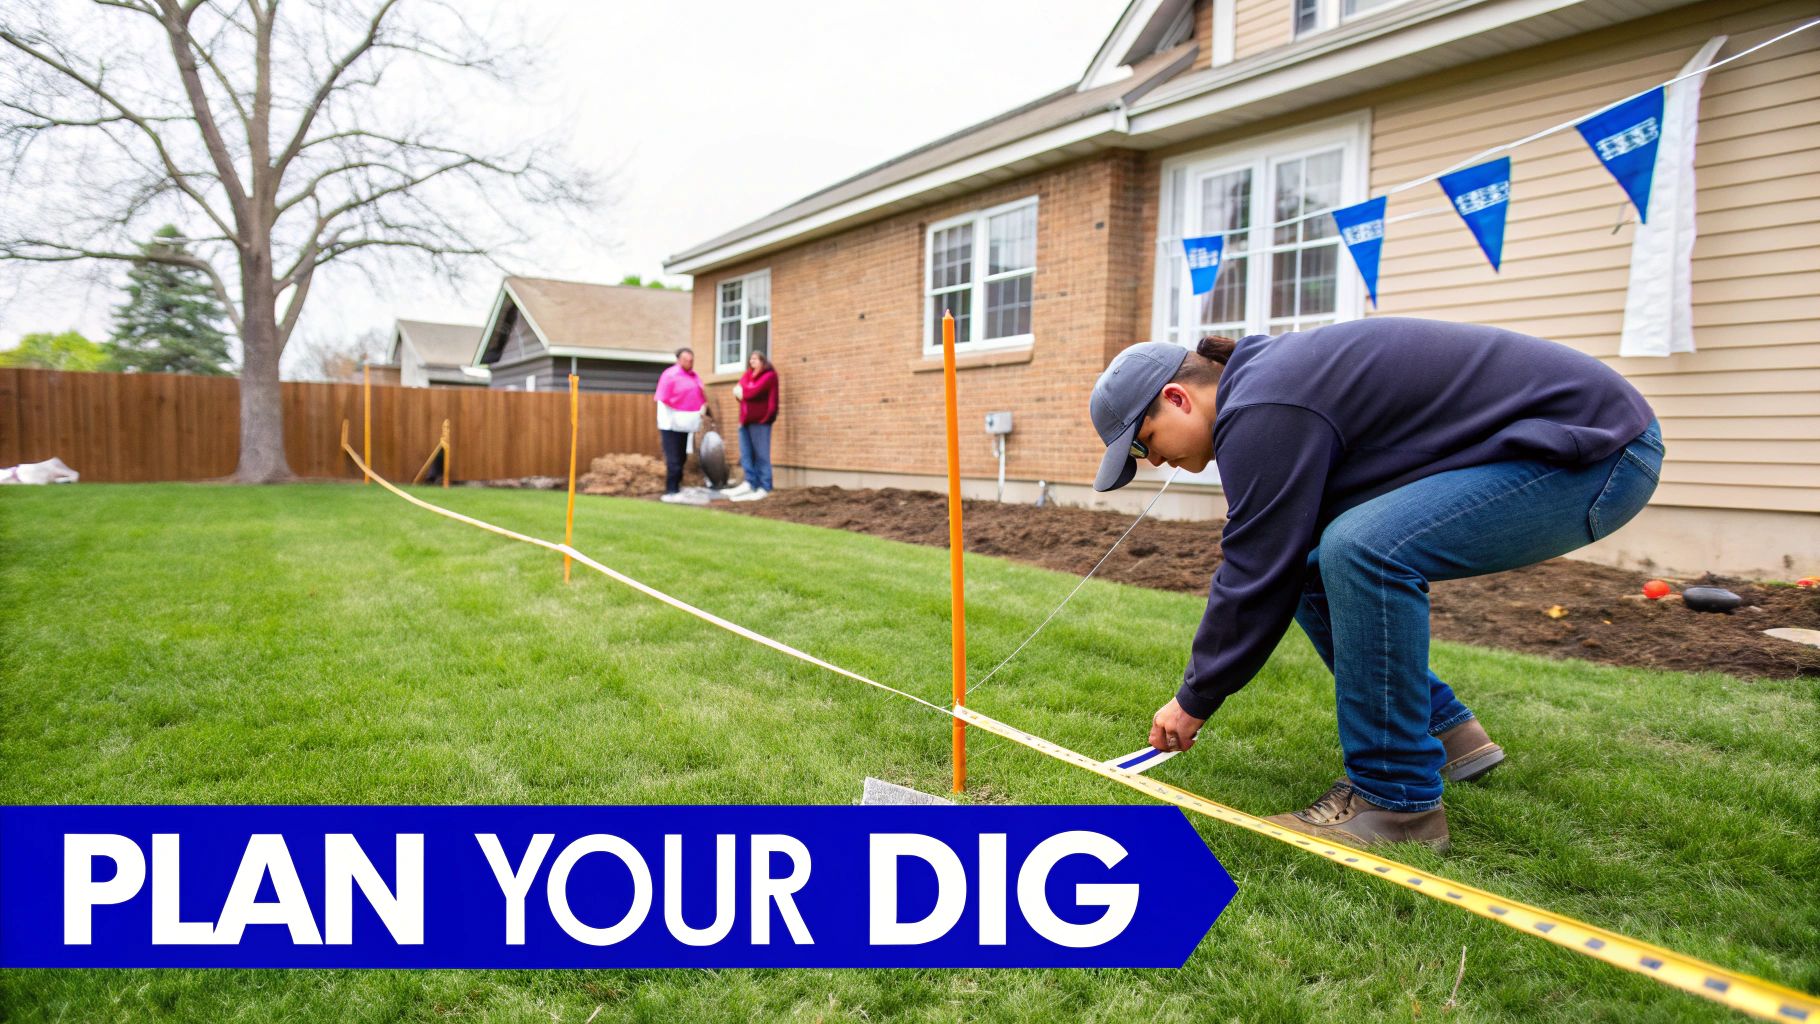
Any seasoned pro will tell you that a fence project is won or lost before the first shovelful of dirt is ever moved. This is the stage where you get ahead of mistakes and make sure every post hole is dug right, right where it needs to be, the first time. It’s all about careful planning, from laying out the fence line to knowing exactly what you're digging into.
Getting your measurements and markings spot-on is everything. Grab some stakes and a string line to map out your fence—this gives you a perfect visual and ensures your post spacing is exact. Get this wrong, and you’ll be fighting every panel during installation.
But before all that, there's one critical task you can't skip.
The Most Important Phone Call You'll Make
Seriously, before you even think about breaking ground, you have to call 811. This free "Call Before You Dig" service gets all the local utility companies to come out and mark their underground lines.
Ignoring this step is just asking for a disaster. Picture your crew hitting an unmarked water main. Work grinds to a halt, you've got a geyser flooding your job site, and now you're on the hook for a very expensive emergency repair bill. It's a rookie mistake that can sink a project.
Making that one call is the single best way to manage your risk. It’s not just a good idea; it's the law.
Once the utilities are marked, you are legally required to dig carefully—either by hand or with non-destructive methods—within 18 inches on either side of those paint marks. This is where a modern tool like The Hydrovac Attachment Tool becomes invaluable. It lets your crew safely excavate around these buried lines without any chance of a damaging strike. The industry calls this process potholing, and it's the professional standard for working near critical infrastructure.
A project’s success is often determined by the one thing you can’t see. Calling 811 reveals the hidden dangers underground and separates professional crews from reckless amateurs.
Calculating The Perfect Hole Dimensions
Okay, with the safety checks done, it's time to figure out the right dimensions for your holes. This isn't guesswork. Two things dictate the size: your local frost line and the size of the posts you're using.
-
Hole Depth: The classic rule of thumb is to bury one-third of the post's total length. So for a 6-foot-tall fence using 8-foot posts, that's a hole at least 32 inches deep. But—and this is a big but—you must dig below the local frost line. If the ground freezes down to 42 inches in your area, your hole needs to be deeper than that to stop frost heave from pushing your posts right out of the ground come spring. No exceptions.
-
Hole Diameter: You want the hole to be about three times wider than the post. A standard 4x4 post (which is actually 3.5" x 3.5") needs a hole that’s 10-12 inches in diameter. This gives you plenty of space for the concrete to wrap completely around the post, creating a rock-solid footing that will keep that fence standing strong for years.
The Old Guard: Traditional Digging Tools And Their Real Costs
For as long as anyone can remember, digging a fence post hole meant grabbing one of two tools: a manual post-hole digger or a gas-powered auger. If you've been in this business for any length of time, you know the drill. But what we often overlook are the real-world costs—in sweat, time, and risk—that come with these old-school methods.
Let's be honest. Manual diggers have their place, but that place is usually soft, perfect soil you rarely find on an actual job site. The moment you hit compacted clay or a stray rock, you’re in for a world of hurt. The physical toll it takes on a crew over a long fence line is no joke, leading to exhaustion and a much higher chance of someone pulling a muscle.
Then you have the gas-powered auger, which feels like a major upgrade at first. It’s loud, aggressive, and rips through the ground with impressive speed. But that power is a double-edged sword. Augers throw dirt everywhere, creating a massive cleanup job that eats into your profits. They're also incredibly noisy, which is the last thing you want when working in a quiet residential neighborhood.
The Trade-Offs We Used to Accept
Choosing between a clamshell digger and an auger always felt like you were just picking your poison. Sure, the auger gets the holes dug faster, but its brute-force approach is a huge gamble, especially when you're working anywhere near marked utility lines. One wrong move and you're in a world of trouble.
Here’s what that looks like on the ground:
- Physical Burnout: The repetitive, back-breaking work of a manual digger is a primary cause of on-the-job strain and injuries.
- The Cleanup Tax: Augers are messy. They can easily double the time you spend on cleanup, turning a tidy lawn into a disaster zone.
- Neighborhood Nuisance: Firing up a gas auger at 8 AM is a great way to get angry calls from the neighbors.
- The Ultimate Risk: This is the big one. An auger blade doesn't know the difference between soil and a fiber optic cable. A single strike can lead to thousands of dollars in repairs and damage to your reputation.
The numbers tell a compelling story. While the global market for manual post hole diggers hit USD 487.3 million in 2024, these simple tools are linked to over 20% of job site injuries from repetitive strain. On the flip side, you’ll hear about a crew using augers to install 500 posts in a week, cutting labor by 40%. That efficiency sounds great until you factor in the ever-present risk of a utility strike. You can dig deeper into the market trends in post hole digging tools to see the full picture.
The real cost of traditional digging isn’t the price of the tool or the extra hour of cleanup. It's the massive financial and safety gamble you take every single time an auger gets close to a marked utility line.
There Has to Be a Better Way
It's clear why so many professional crews are fed up. Between the physical exhaustion, the safety risks, and the time wasted on cleanup, the old ways just aren't cutting it anymore. We've needed something that gives us the speed of a machine but with the care and precision of digging by hand.
This is exactly where non-destructive digging comes in. By using pressurized water to break up the soil and a powerful vacuum to suck it away, modern tools like The Hydrovac Attachment Tool offer a smarter path forward. This method takes the back-breaking labor out of the equation and completely eliminates the risk of an auger striking a buried line, making the entire process cleaner, safer, and far more efficient.
Why Hydrovac Excavation is the Smarter, Safer Choice
After wrestling with post-hole diggers or gambling with a bucking gas auger, you know there has to be a better way. The physical toll, the sloppy mess, and the constant worry about hitting a utility line—it’s why professional crews are moving past the old methods. Digging a hole isn't just about moving dirt anymore; it's about precision, safety, and leaving the client's property in pristine condition.
This is where hydrovac excavation changes everything.
It’s a completely different approach that uses high-pressure water to liquefy the soil into a slurry, which is then immediately sucked up by a powerful vacuum. Think of it as surgical digging. Instead of brute force, you get total control, making it a non-destructive process from start to finish. This isn't just a minor upgrade; it’s a fundamental shift in how professionals tackle fence post installation.
This graphic really breaks down the difference between the old-school grunt work and the precision of hydro excavation.
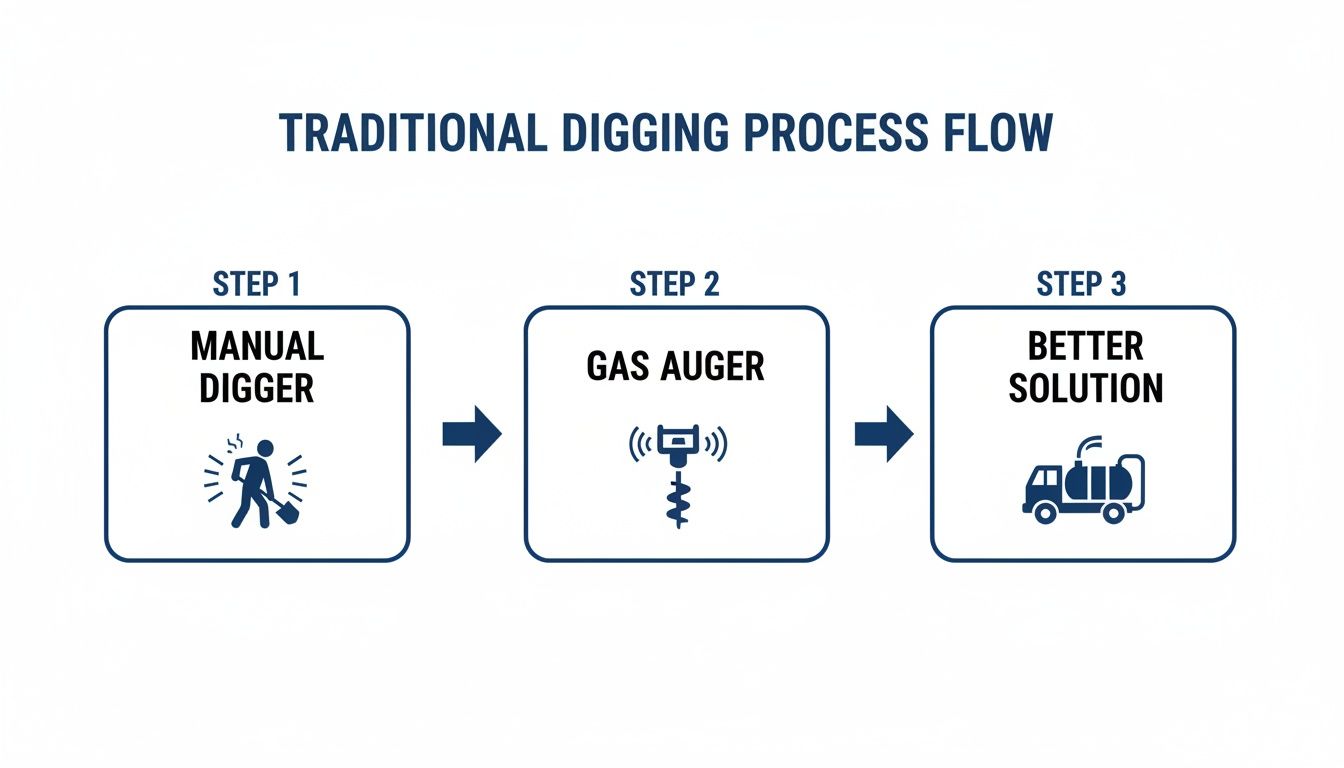
You can see how hydrovac technology leaves behind the back-breaking labor of manual diggers and the noisy, high-risk chaos of gas augers.
Turning Your Existing Gear Into a Precision Digger
For a lot of crews, the biggest hurdle to adopting this tech has always been the sheer cost and size of a dedicated hydrovac truck. That’s no longer the case. Innovative tools like The Hydrovac Attachment Tool are a game-changer, letting you convert equipment you already have—a standard power washer and a wet/dry vac—into a potent, non-destructive digging machine. It's a smart way to bring advanced excavation capabilities to any job without a massive investment.
Picture a common scenario: a residential backyard packed with mature landscaping, sprinkler heads, and buried low-voltage lighting wires. Taking a gas auger in there is just asking for trouble. With the Hydrovac Attachment, your crew can carefully carve out perfect post holes with surgical accuracy, leaving the surrounding turf and hardscaping completely undisturbed.
The real win here isn't just digging a cleaner hole. It's about getting rid of the expensive "what-ifs"—what if we shred a sprinkler line, what if we crack the client's patio, what if we hit a utility cable? Hydro excavation takes that risk right off the table.
Unmatched Safety Around Buried Utilities
The biggest advantage, without a doubt, is safety. This is especially true when you're working near marked utility lines. Any kind of mechanical digging in those zones is a high-stakes gamble.
In fact, hydrovac methods are shown to reduce utility strikes by an incredible 80% compared to traditional digging. That’s a massive deal when you consider that fence lines often run parallel to buried utilities right along property lines.
For any crew—from fencers and landscapers to utility locators—the simple, three-step setup of the Hydrovac Attachment on standard 2.5-inch hoses means you can work confidently in tight urban or suburban spaces without needing a massive, expensive rig.
This process, also known as vacuum excavation, virtually eliminates the mess by removing the soil slurry as you dig. It’s a clean operation, a far cry from the flying mud and debris of an auger that obscures your view and leaves you with a huge cleanup job.
Ultimately, this technology lets your team work faster, safer, and with more confidence. You get a perfectly clean, precisely placed hole every time, with stable, undisturbed soil walls ready for the post and concrete—all without the noise, mess, and danger of outdated methods.
Setting Posts For Maximum Strength And Longevity
Digging a perfect hole is only half the battle. How you actually set that post is what makes the difference between a fence that stands arrow-straight for decades and one that’s leaning after the first big storm. The real goal here is to build a rock-solid foundation that can handle moisture, frost heave, and whatever else the ground throws at it.
The way you dug the hole has a huge impact on this final, critical step. For instance, traditional augers can leave you with a messy, oversized hole and churned-up soil walls. This makes it much harder to get a stable concrete footing, often leading to a weaker setup that needs more backfill just to feel solid.
Backfilling The Right Way
This is where a tool like The Hydrovac Attachment Tool really shines. It carves out a clean, precise hole, leaving the surrounding soil completely undisturbed. You get a perfect cylinder, which allows the concrete to form a much stronger bond with solid, virgin ground. The result is a more stable and secure setting right from the get-go.
That precision is also a massive advantage when you're working near buried utilities. Utility strikes cost companies an estimated $30 billion every year. A hydrovac system safely uncovers those lines, slashing the risk of a strike by up to 85%. Plus, the water-and-vacuum combo works twice as fast as an auger in wet soil and leaves you with 70% less cleanup. It's a game-changer. For a deeper dive, check out the economic impact of safe digging practices.
The Concrete And Gravel Combination
When you need maximum stability, setting your posts in concrete is the way to go. But whatever you do, don't just dump the concrete straight into the bottom of the hole.
Here's a pro tip for a long-lasting post: always prevent water from pooling at its base. Start by adding a 4-6 inch layer of gravel at the bottom of the hole before you even set the post. This creates a simple but effective drainage field that wicks moisture away, seriously cutting down the risk of rot and frost heave.
With your gravel base in place, position the post. Use a level on two adjacent sides to make sure it's perfectly plumb, then brace it so it can't budge while the concrete sets.
Getting the concrete mix right is crucial. If it's too wet, it'll be weak. Too dry, and it won't settle properly into all the gaps. If you're unsure how much to mix up for your job, our guide on calculating how much Quikrete you need can help you nail it.
Finally, after pouring the concrete, shape the top surface so it slopes away from the post. It’s a small detail, but it ensures rainwater runs off instead of sitting against the wood, giving you one more layer of protection.
Your Top Fence Installation Questions, Answered
No matter how many fences you've installed, every job site brings its own set of questions. Getting the right answers on the spot is what separates a smooth project from a costly headache. Let's tackle some of the most common hurdles you'll face when digging post holes.
How Deep Do Fence Post Holes Really Need to Be?
The old rule of thumb is to bury at least one-third of the post's total length. So, if you're putting up a classic 6-foot fence with an 8-foot post, you're looking at a hole that's at least 32 inches deep.
But here’s the real kicker: your local frost line. This is non-negotiable. If the frost line in your area is 42 inches, your holes must go deeper than that. Skimping on this means you'll be back in the spring fixing posts that have been pushed right out of the ground by frost heave.
What's the Best Way to Dig in Rocky or Clay Soil?
Let’s be honest, heavy clay and rocky soil are where digging jobs go to die. Manual diggers bounce off, and gas augers can buck so hard they're a safety hazard. This is exactly where hydro vacuum excavation shines.
A tool like the Hydrovac Attachment uses a focused jet of pressurized water to slice through compacted clay and wash soil away from stubborn rocks. The vacuum then sucks up the slurry. You're not fighting the ground anymore; you're using hydrovac technology to work smarter, not harder.
Can I Dig Post Holes Near Buried Utilities?
Yes, but you have to do it the right way. Bringing a gas auger—or even a shovel—down on a marked utility line is a recipe for disaster. The only professionally accepted and safe method for digging in these critical zones is hydro excavation.
This non-destructive approach lets you carefully uncover buried lines without ever making contact. It’s how you get the job done without risking a dangerous, expensive, and reputation-damaging utility strike. It's not just the safe way; it's the only way to work legally around essential infrastructure.
Is a Hydrovac Attachment Actually Worth the Money?
For any professional crew, it’s a no-brainer. The upfront cost of a Hydrovac Attachment Tool is quickly offset by what you gain in the field. Think about it:
- You'll work faster. A lot faster, especially when the ground gets tough.
- You virtually eliminate risk. The cost of a single utility strike—with the fines, repairs, and downtime—can dwarf the cost of the tool.
- Your labor costs drop. Less time spent on manual digging and cleanup means your crew is more productive and profitable.
Ultimately, it opens up a new class of jobs for your business. You can confidently take on projects in tight spaces or near sensitive utilities that you'd otherwise have to pass on. It’s not just a tool; it's an investment in a safer, more efficient, and more profitable operation.
Ready to make your fence installation projects faster, safer, and more profitable? Discover how the Hydrovac Attachment can transform your workflow. Visit https://hydrovacattm.com to see it in action.